The Ultimate Guide to Garage Floor Coating Care: Cleaning, Stains, and Repairs
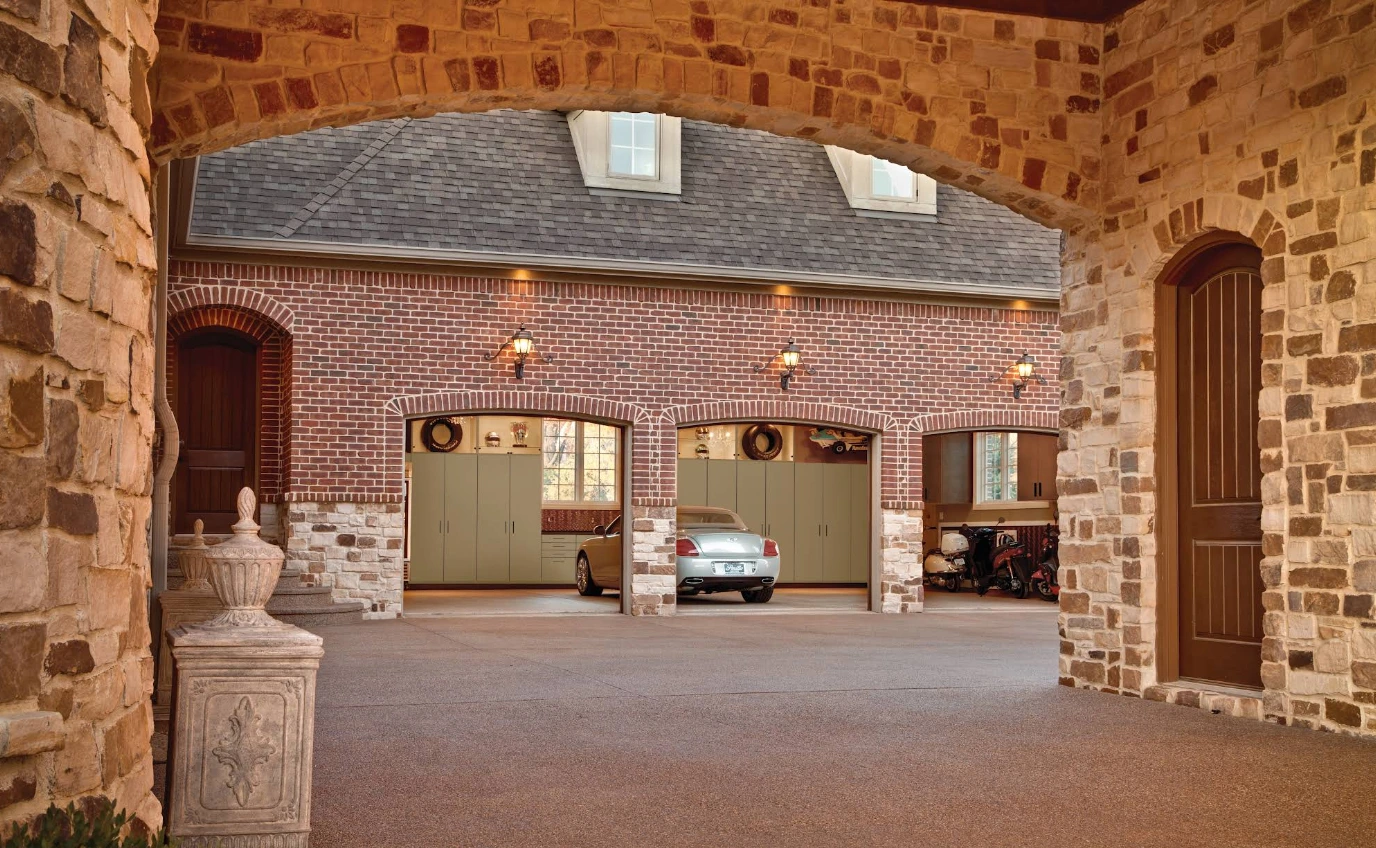
You’ve made a smart investment in your home. That seamless, high-performance garage floor coating has transformed your space from a dusty concrete slab into a functional, showroom-quality asset. But like any premium feature, its longevity and pristine appearance depend on proper care.
Many guides offer simple cleaning tips, but what happens when you face a stubborn rust stain, a small chip from a dropped tool, or wonder how to tackle hot tire pickup? You're in the right place. This is your definitive resource for protecting your investment, covering everything from routine cleaning to advanced stain removal and minor repairs. We’ll give you the exact frameworks and step-by-step instructions needed to keep your floor looking flawless for years.
The Foundation of Flawless Floors - Routine Cleaning
Consistent, gentle cleaning is the single most effective thing you can do to preserve your floor's finish. It prevents the buildup of abrasive grit and grime that can slowly dull the surface over time.
Your Weekly Cleaning Toolkit
Forget harsh chemicals and aggressive scrubbing. The best approach is also the simplest.
- What You’ll Need: A dust mop or soft-bristle broom, a microfiber mop, two buckets, and a pH-neutral cleaner.
- What to Avoid: Steer clear of acidic cleaners like citrus or vinegar, as they can etch and degloss the finish over time. Soap-based cleaners are also a bad idea, as they can leave a hazy film that builds up and becomes difficult to remove.
The Step-by-Step Process
- Clear and Sweep: Remove any vehicles, floor mats, and loose items. Use a dust mop or soft broom to sweep away all dust, dirt, and debris. This step is critical—you don't want to grind abrasive particles into the floor while mopping.
- Prepare Your Cleaning Solution: Fill one bucket with cool, clean water. In the second bucket, mix your pH-neutral cleaner according to the manufacturer's instructions. A little goes a long way.
- Mop and Rinse: Dip your microfiber mop into the cleaning solution, wring it out so it's damp (not soaking wet), and clean the floor in manageable sections. After cleaning a section, rinse the mop head thoroughly in the bucket of clean water before dipping it back into the cleaning solution. This two-bucket method prevents you from spreading dirty water across the floor.
- Final Rinse (If Necessary): If your floor looks hazy after drying, it may be due to cleaner residue. A simple rinse with a clean, water-dampened mop is usually all that’s needed to restore the clarity and shine.
Minor Repairs - Fixing Chips and Scratches
High-performance floor coatings are incredibly durable, but a heavy, sharp impact can sometimes cause a chip or deep scratch. The good news is that you don't need to live with it or immediately consider a full replacement. Small blemishes can often be repaired.
Identifying Repairable Damage
This DIY method works best for small, localized chips or deep scratches where the coating has been compromised but the surrounding area is still perfectly bonded to the concrete.
The Basic Repair Process
- Clean the Area: Thoroughly clean the chip and the immediate surrounding area with a degreaser to remove any contaminants. Let it dry completely.
- Lightly Sand the Edges: Use fine-grit sandpaper (220-grit) to gently sand the edges of the chip. This helps the new material bond more effectively. Wipe away any dust.
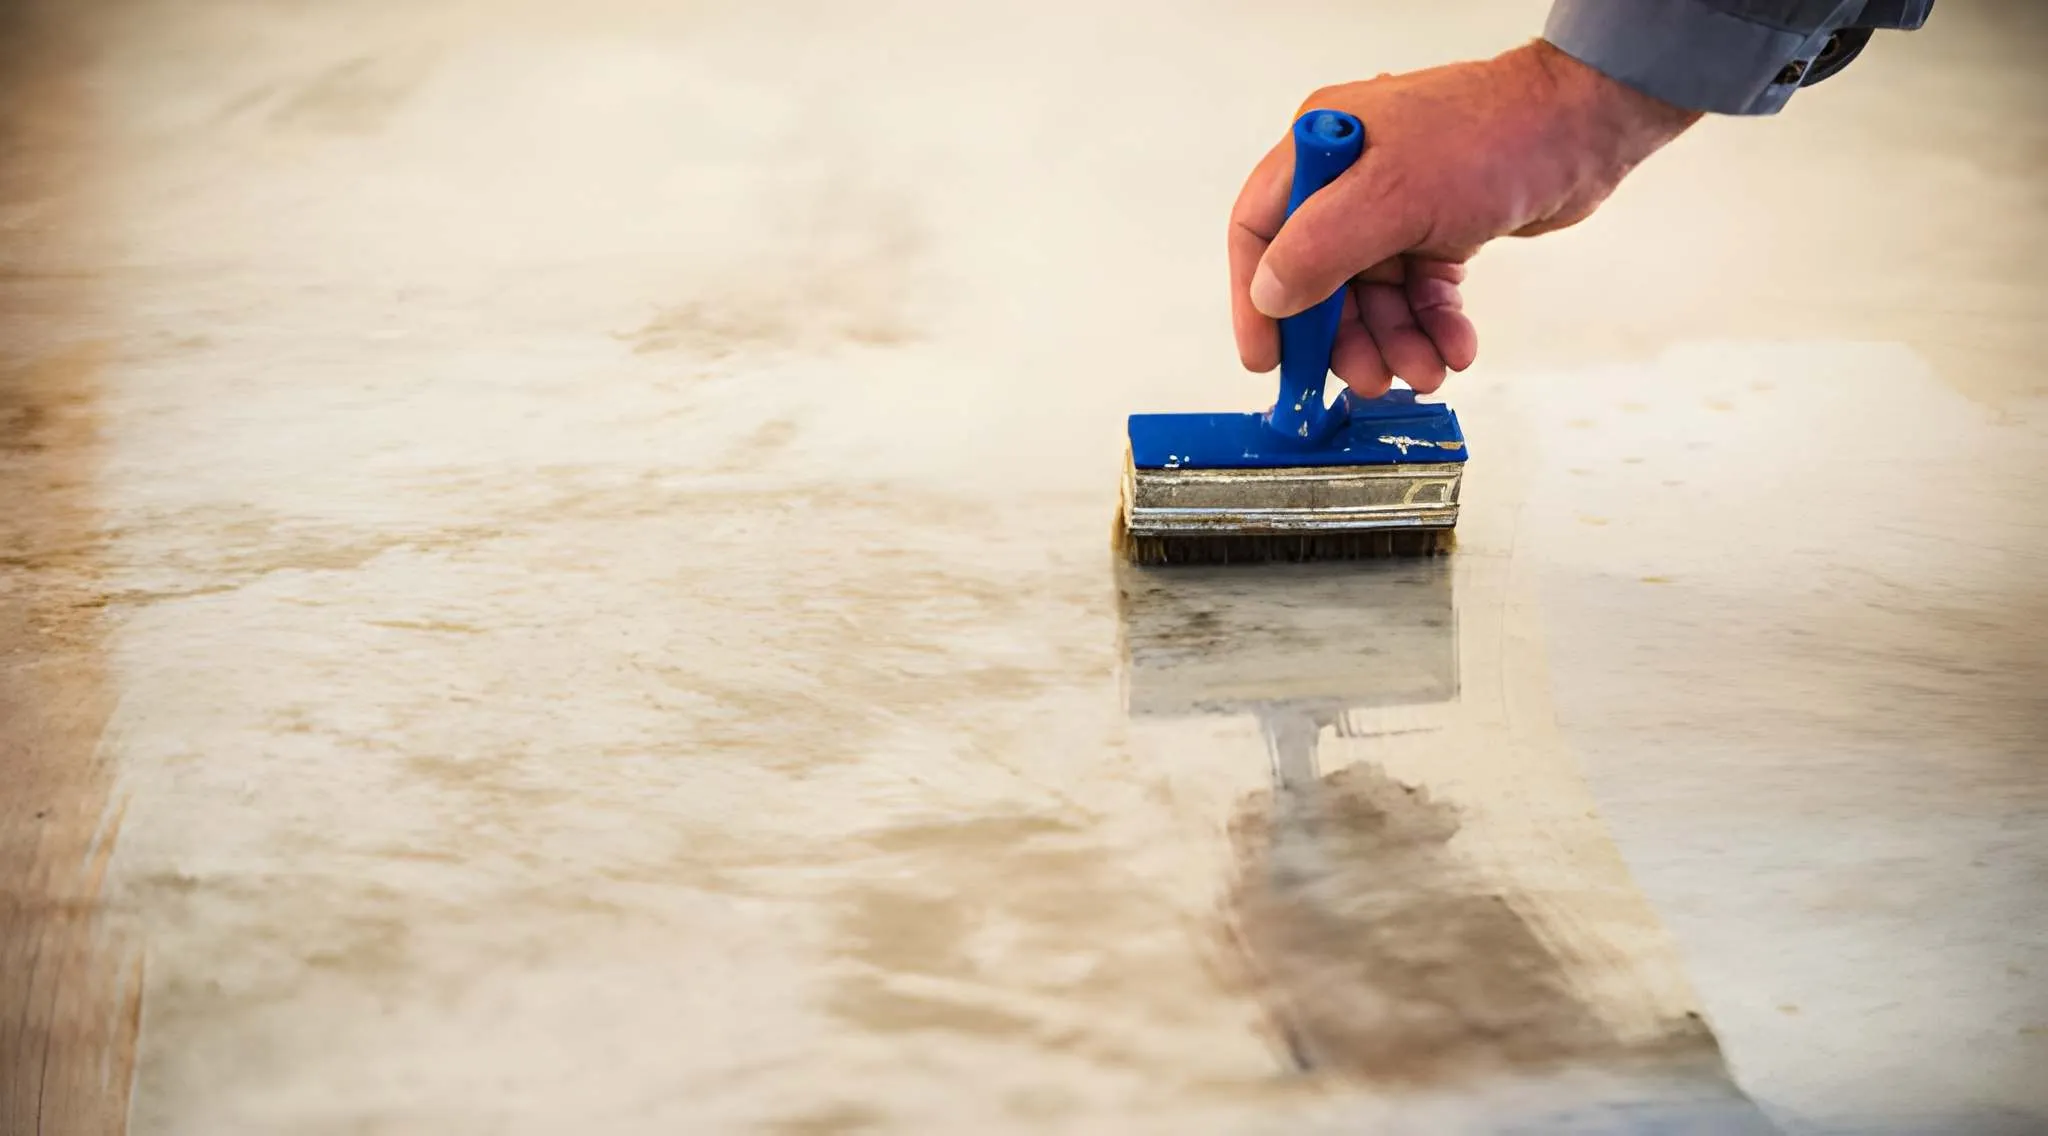
- Apply the Patch Material: Use a clear epoxy or polyaspartic patch kit. Carefully mix the two parts according to the instructions. Using a small putty knife or a toothpick for very small chips, apply the material to fill the damaged spot. Try to make it level with the surrounding floor.
- Cure and Smooth: Allow the patch to cure fully as directed by the product instructions. If the patch is slightly raised once cured, you can carefully shave it level with a new razor blade held flat against the floor.
When to Repair vs. When to Replace
Sometimes, the issue is bigger than a simple stain or chip. Widespread peeling, cracking, or discoloration are signs of a failing coating, often due to improper surface preparation during the initial install. At this point, you have a major decision to make: attempt a full removal yourself or call in the pros.
This is a high-stakes project. Success requires the right equipment, strict adherence to safety protocols, and a significant amount of labor.
Method 1: Chemical Strippers
- Best For: Thinner, DIY-grade epoxy kits that are already failing or peeling.
- Pros: Less dust than grinding; can be done with hand tools.
- Cons: Involves harsh chemicals requiring serious ventilation and personal protective equipment (PPE) like respirators and chemical-resistant gloves. The process is messy and disposal of the chemical sludge can be difficult.
- The Process: A gel or liquid stripper is applied to the floor, left to soften the coating, and then the softened epoxy is scraped off with heavy-duty floor scrapers.
Method 2: Mechanical Grinding
- Best For: Professionally installed, thick-mil coatings or floors with multiple layers. This is the method professionals use.
- Pros: Faster and more effective for tough coatings. It properly profiles the concrete below, leaving it ready for a new coating.
- Cons: Requires renting heavy, specialized equipment (a concrete grinder with diamond tooling). Creates a massive amount of fine dust that requires an industrial-grade dust collection system.
- The Process: A walk-behind concrete grinder systematically abrades the coating off the surface, taking a thin layer of concrete with it.
A complete garage makeover involves more than just floors. Our custom [] can double your usable space and complete the transformation.
The Decision-Making Framework
Ask yourself these questions to choose the right path:
- How large is the area? Grinding is much more efficient for a standard two-car garage.
- How thick is the coating? If it was professionally installed, grinding is likely the only viable option.
- What is my budget for tool rental and materials? Factor in the cost of a grinder, diamond tooling, a dust extractor, and chemical strippers.
- Am I prepared for the safety and labor demands? This is a physically taxing job that carries real risks if not done correctly.
Your Garage Floor’s Long-Term Health
Your garage floor is a dependable part of your home, and with the right knowledge, you can ensure it stays that way. By mastering routine cleaning, tackling stains with the right tools, and understanding your options for repairs, you have full control over protecting your investment.
When a problem goes beyond routine care, however, expert guidance is invaluable. If you're facing widespread coating failure or simply want to ensure a flawless new application, professional help is the surest path to success. Our [] are installed with meticulous preparation and the highest-quality materials to guarantee a finish that lasts.
Frequently Asked Questions
1. What’s the main difference in caring for epoxy vs. polyaspartic floors?
Generally, their day-to-day care is identical. Both require pH-neutral cleaners and benefit from the same cleaning techniques. The primary difference is in their chemical composition; polyaspartic coatings often have higher chemical and UV resistance, but this doesn't change the need for prompt spill cleanup and routine mopping.
2. Why can't I just use vinegar or a simple soap cleaner?
Vinegar is an acid that can slowly dull the glossy finish of your floor over time. While you might not see the damage after one or two cleanings, consistent use will degrade the surface. Soap-based cleaners leave behind a film that not only dulls the shine but also attracts more dirt.
3. How can I prevent "hot tire pickup"?
Hot tire pickup, which causes peeling or delamination, is almost always a sign of poor surface preparation before the coating was applied. A professionally installed floor with a proper concrete profile and high-quality materials will not have this issue. If you have an existing floor with this problem, using parking mats under your tires can help mitigate further damage.
4. Is a professional floor coating really worth the investment?
Absolutely. While DIY kits seem appealing, they often fail within a year or two due to inadequate surface preparation—the most critical step. A professional installation, like those offered by [], uses industrial-grade diamond grinders to prepare the concrete and applies commercial-grade materials that create a permanent chemical bond, ensuring a floor that lasts for decades.