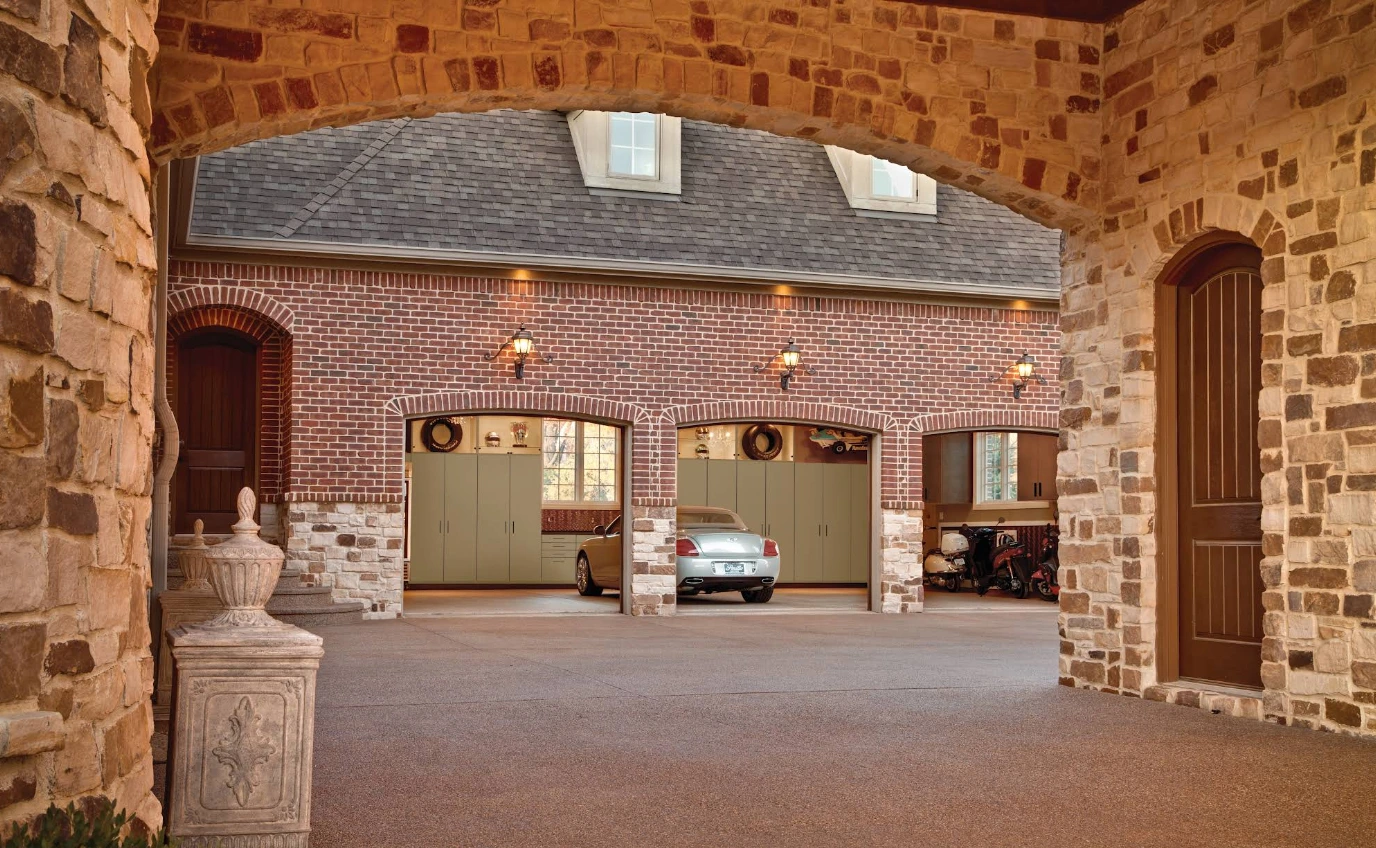
When homeowners in Great Falls, VA envision their ideal garage floor - a pristine, durable surface that enhances their entire home - they often focus on the final coating. But the real foundation of a long-lasting garage floor coating lies in what happens before the first coat is applied. Moisture mitigation and surface preparation are the critical steps that determine whether your new floor will be a stunning investment for decades or a disappointing failure within a few years. At Garage Design Source, we understand that cutting corners on preparation is the fastest way to undermine even the highest-quality coating systems. That's why we invest significant time and expertise into moisture testing, substrate repair, and mechanical profiling before we ever apply epoxy, polyaspartic, or polyurea coatings to your Great Falls garage.
Moisture Mitigation & Surface Prep in Great Falls, VA
When homeowners in Great Falls, VA envision their ideal garage floor - a pristine, durable surface that enhances their entire home - they often focus on the final coating. But the real foundation of a long-lasting garage floor coating lies in what happens before the first coat is applied. Moisture mitigation and surface preparation are the critical steps that determine whether your new floor will be a stunning investment for decades or a disappointing failure within a few years. At Garage Design Source, we understand that cutting corners on preparation is the fastest way to undermine even the highest-quality coating systems. That's why we invest significant time and expertise into moisture testing, substrate repair, and mechanical profiling before we ever apply epoxy, polyaspartic, or polyurea coatings to your Great Falls garage.
Why Moisture Mitigation Matters for Your Garage Floor
Concrete is porous by nature, and moisture is constantly moving through it - rising from the ground below, absorbed during rainy seasons, or trapped beneath the surface. In Great Falls, VA, where humidity levels fluctuate with the seasons and spring rains can be heavy, garage concrete is especially susceptible to moisture infiltration. Without proper moisture mitigation, this trapped moisture creates a barrier between your concrete substrate and the coating system. As that moisture tries to escape, it pushes against the coating from beneath, causing adhesion failure, bubbling, peeling, or delamination - sometimes within just months of installation.
The consequences of ignoring moisture mitigation are costly. A coating system that fails prematurely not only leaves you with an ugly garage floor, but it also creates a financial loss and the frustration of a failed home improvement project. More importantly, moisture trapped beneath a coating can lead to mold growth, odors, and structural issues in the long term. At Garage Design Source, we've seen too many residential and commercial projects compromised by inadequate moisture management, and we're committed to preventing that outcome for our clients in the Great Falls area.
Moisture Testing Methods We Use
Before we apply any coating system, proper diagnosis is essential. Different testing methods reveal different aspects of the moisture situation in your concrete, and the results guide our preparation strategy.
Calcium Chloride Testing
This is one of the most widely accepted methods for measuring moisture vapor emission rates (MVER) from concrete. A calcium chloride test kit is placed on the concrete surface in a sealed environment for 24-72 hours. The kit absorbs moisture vapor rising from the concrete, and the weight gain tells us exactly how much moisture is moving through the slab. This data is critical because coating manufacturers specify maximum acceptable MVER levels - typically 3-5 pounds per 1,000 square feet per 24 hours. If your concrete exceeds these thresholds, we must employ additional moisture barriers or recommend alternative coating systems designed for high-moisture environments.
Relative Humidity Testing
Using in-situ (in-place) probes, we can measure the relative humidity within the concrete at various depths. This method takes longer than calcium chloride testing - usually 24-48 hours for equilibration - but it provides a more complete picture of moisture distribution throughout the slab. In Great Falls, where seasonal moisture changes can be dramatic, understanding the humidity profile at different depths helps us select the most appropriate moisture barrier system.
Visual and Tactile Assessment
Before we deploy sophisticated testing equipment, we perform a visual inspection. Look for dark patches, staining, efflorescence (white, chalky deposits), or areas that simply feel damp to the touch. These signs tell us immediately whether moisture is a concern. We also check for active seepage or pooling, which might indicate drainage issues that need to be addressed before coating.
Moisture Vapor Barriers and Primer Selection
Once testing is complete, we select the appropriate moisture management strategy. For slabs with moderate moisture levels, a quality epoxy primer with built-in moisture tolerance may be sufficient. For slabs with higher moisture vapor emissions, we recommend a specialized moisture barrier system - often a polyurethane or hybrid barrier that sits between the concrete and the primary coating. These barriers are engineered to block moisture vapor while still allowing the substrate to breathe, preventing trapping and future failure.
Substrate Repair: Cracks, Joints, and Surface Issues
Even a relatively new concrete slab can have defects that compromise coating adhesion and longevity. Cracks, spalls, joint deterioration, and surface damage all need attention before coating application.
Concrete Crack Repair
Cracks in garage concrete are extremely common, especially in Great Falls, where freeze-thaw cycles in winter can cause concrete to expand and contract. Not all cracks are created equal. Hairline cracks (less than 1/8 inch wide) are usually cosmetic but may allow moisture infiltration. Wider cracks (1/8 inch to 1/2 inch or more) are structural concerns that require repair.
Our process for crack repair depends on the crack's characteristics. For hairline cracks, we may use a concrete-bonding primer that flows into the crack, sealing it as part of the coating preparation. For wider cracks, we use concrete epoxy injections or polyurethane sealers that cure completely, creating a watertight seal and restoring structural integrity. In some cases, we may grind out the crack into a wider V-groove, clean it thoroughly, and fill it with a flexible epoxy or polyurethane repair compound. This method ensures the repair material bonds properly and allows for minor expansion and contraction without re-cracking.
Joint Repair and Remediation
Concrete control joints - the planned seams in garage slabs - can deteriorate over time, especially in high-traffic areas. Loose material, spalling concrete at the edges, and moisture infiltration at joints are common issues we address in Great Falls garages. We typically grind out deteriorated joint material, clean the joint cavity thoroughly with compressed air or water, and refill it with a flexible sealant or epoxy designed specifically for joint work. This prevents moisture from entering at these vulnerable points and ensures a more uniform appearance once coating is applied.
Surface Contamination Removal
Oil stains, grease, dirt, and other contaminants prevent coatings from bonding properly to concrete. Before we begin any mechanical profiling, we thoroughly clean the entire surface. For light contamination, this might involve pressure washing or degreasing. For heavy or stubborn stains - common in garages where vehicles have been parked for years - we may use stronger chemical cleaners or poultice treatments that draw contaminants out of the concrete.
Mechanical Profiling: Preparing the Surface for Adhesion
Even after cleaning and repair, bare concrete is too smooth to accept a coating evenly. Coatings need texture and porosity to grip the substrate. This is where mechanical profiling comes in - a process that uses grinding or shot blasting to open up the concrete's surface and create ideal conditions for adhesion.
Concrete Grinding
Grinding is the most common profiling method for residential garage applications. A specialized grinding machine with diamond-grit abrasive pads removes the top layer of concrete - typically 1/16 to 1/8 inch - exposing fresh, porous concrete beneath. The grinding process also removes any remaining surface contaminants, old coatings, or sealers that might interfere with new coating adhesion.
We use multi-head grinding equipment that covers large areas efficiently while maintaining consistent profile depth. The result is a finely textured surface - similar to fine-grit sandpaper - that provides excellent mechanical adhesion for coating systems. For Great Falls homeowners, grinding is ideal because it's dustier than shot blasting but more economical, and it works effectively on most residential concrete slabs.
Shot Blasting
Shot blasting uses small steel balls fired at high velocity to impact and texture the concrete surface. This method is more aggressive than grinding and creates a deeper, more pronounced profile - ideal for commercial applications or high-traffic areas where maximum durability is critical. Shot blasting also cleans the surface simultaneously, removing contaminants and generating minimal dust. The tradeoff is that shot blasting is more expensive and often unnecessary for typical residential garage applications.
Profile Specifications
The appropriate profile depth depends on the coating system. Epoxy systems typically require a medium profile (80-120 micro-inch range). Polyaspartic and polyurea coatings - which are thicker and more robust - may require a slightly deeper profile (120-150 micro-inch range) for optimal adhesion. At Garage Design Source, we match the profiling method and depth to the specific coating system you've selected, ensuring perfect synergy between substrate preparation and coating application.
Dust Control During Profiling
Profiling generates dust - a significant amount of it. We use industrial-grade dust collection systems during grinding and profiling to capture debris and prevent it from settling on neighboring surfaces or inside your home. This is especially important in Great Falls neighborhoods where homes are closely positioned, and dust migration can affect neighbors' properties.
Primers and Adhesion Promoters
After the substrate is properly prepared, the next critical layer is primer. Primers serve multiple purposes: they seal the profiled concrete, provide additional moisture protection, enhance adhesion, and ensure uniform color and appearance of the final topcoat.
Epoxy Primers
For epoxy coating systems, we typically apply an epoxy primer designed for concrete applications. These primers penetrate into the profiled concrete surface, filling micro-voids and creating a strong mechanical and chemical bond. Quality epoxy primers also offer moisture tolerance - meaning they can cure properly even if some residual moisture is present in the substrate, providing insurance against moisture-related failures.
Polyurethane Moisture Barriers
When moisture testing reveals elevated MVER readings in your Great Falls garage, we may recommend a polyurethane moisture barrier primer instead of a standard epoxy primer. These barriers are engineered to block moisture vapor passage while still allowing the coating system to cure properly. A polyurethane barrier sits between the concrete and the primary coating, creating a robust moisture defense system. This is especially valuable in Great Falls, where basement and garage moisture issues can be seasonal but persistent.
Adhesion Promoters and Bonding Agents
In cases where the substrate is particularly challenging - perhaps an old, dense concrete slab or one with residual sealer - we may apply an adhesion promoter before the primer. These specialized products chemically bond to concrete and create a tacky surface that the primer can grip more effectively. This extra layer of preparation is an investment that pays dividends in coating longevity.
Preparing for Epoxy, Polyaspartic, and Polyurea Coatings
Different coating chemistries have different substrate requirements, and our preparation approach varies accordingly.
Epoxy Coating Preparation
Epoxy is the most commonly selected coating system for residential garages because it offers excellent durability, aesthetic appeal, and value. Epoxy requires a clean, profiled surface and a quality epoxy primer. Moisture levels should be tested and controlled, though epoxy primers typically tolerate moderate moisture better than some alternatives. Application conditions matter - epoxy requires moderate temperatures (typically 50-85 degrees Fahrenheit) and low humidity for proper curing. After profiling and priming, we typically allow 24-48 hours for the primer to cure before applying epoxy topcoats.
Polyaspartic Coating Preparation
Polyaspartic coatings are faster-curing than epoxy and offer superior UV resistance, making them ideal if you want a faster turnaround or if your garage receives significant sunlight. Polyaspartic requires the same thorough preparation as epoxy - cleaning, moisture testing, crack repair, and mechanical profiling. However, polyaspartic's rapid cure times mean we must work more quickly and with precise environmental controls. The substrate should be in optimal condition because there's less time for primer and topcoat to flow and level.
Polyurea Coating Preparation
Polyurea is the premium option - the most durable, fastest-curing, and most impact-resistant coating available. It's also the most demanding in terms of substrate preparation. Polyurea requires a perfectly profiled, clean, and dry surface. Moisture testing and barrier installation are non-negotiable with polyurea systems. The payoff is a garage floor that can withstand extreme use - heavy machinery, frequent cleaning, chemical exposure - and still look pristine for 10+ years or more.
Expected Timelines for Moisture Mitigation and Preparation
The total time from initial consultation to final coating application depends on your substrate's condition and the results of moisture testing.
Week One: Testing and Assessment
We begin with comprehensive moisture testing and a detailed assessment of your concrete. Calcium chloride testing takes 48-72 hours, so initial results are available early in the first week. We also perform visual inspection, measure moisture levels, and identify any cracks, joints, or contamination issues. By the end of the first week, we have a complete understanding of your substrate's condition and can provide specific recommendations.
Week Two to Three: Repair Work
If your concrete requires crack repair, joint remediation, or extensive surface cleaning, this phase typically takes 1-2 weeks depending on the scope. Crack injection systems must cure - usually 24-48 hours depending on the product - before we can proceed. Joint repair, surface cleaning, and degreasing can often be completed concurrently.
Week Three to Four: Profiling
Mechanical profiling - grinding or shot blasting - typically takes 1-2 days for an average residential garage (300-500 square feet), depending on the method and the concrete's condition. After profiling, we perform a final cleanup to remove all dust and debris, ensuring a pristine surface for primer application.
Week Four to Five: Priming and Moisture Barrier Installation
If your testing indicated elevated moisture, we apply the appropriate moisture barrier system before the primer coat. Primer curing times vary - typically 24-48 hours - before topcoat application can begin. Total time for this phase is usually 3-5 days.
Final Coating Application
Once the substrate is fully prepared and primer has cured, topcoat application typically takes 1-3 days depending on the coating system and number of coats. This is when your beautiful new floor comes to life.
Total Timeline
For a straightforward project with moderate moisture levels and minimal substrate damage, the entire process - from initial testing to final topcoat application - typically takes 4-6 weeks. More complex scenarios with significant cracks, high moisture, or extensive surface contamination may extend to 8-10 weeks. We always communicate expected timelines clearly upfront so you can plan accordingly.
Warranty and Long-Term Protection
Our commitment to thorough moisture mitigation and surface preparation directly translates to warranty coverage. Most coating manufacturers offer robust warranties (5-10 years or more) only when installation follows their specifications precisely - which means proper substrate preparation is non-negotiable.
At Garage Design Source, we stand behind our preparation work because we know it's foundational to coating success. When moisture testing is done properly, repairs are completed correctly, and surfaces are profiled to specification, coating failures become extremely rare. Our Great Falls customers benefit from this commitment to excellence - they get a floor that performs as expected and a warranty that protects their investment.
If you choose a contractor who skips moisture testing or rushes through substrate preparation, you're gambling with your investment. We've seen too many "budget" garage floor jobs fail prematurely because preparation was inadequate. The difference between a failed installation and a 10-year beauty is often just a few hundred dollars spent on proper preparation - a difference we believe is always worth making.
Why Proper Preparation Matters for Great Falls
Great Falls, Virginia sits in a region characterized by moderate to high humidity, significant seasonal rainfall, and the freeze-thaw cycles that come with a mid-Atlantic climate. These environmental factors make moisture mitigation especially critical for garage floors in our area. A garage floor that doesn't account for Great Falls' climate challenges is asking for trouble.
The Great Falls water table can be relatively high in some areas, and many homes have experienced basement moisture issues - a sign that moisture is a real concern for below-grade and ground-level spaces like garages. Our experience working throughout the Northern Virginia region has shown us that skipping or minimizing moisture preparation is one of the primary reasons garage floor coatings fail in this climate. Conversely, homes where we've implemented comprehensive moisture testing, barriers, and proper substrate preparation have maintained beautiful floors for well over a decade.
When you choose Garage Design Source for your garage floor project, you're choosing a company that understands Great Falls' unique environmental conditions and designs every project to thrive in this climate. We're not just applying coatings - we're creating durable, beautiful garage floors engineered specifically for Northern Virginia homeowners.