When you're ready to transform your garage floor with a premium coating system, the work that happens before the first coat of epoxy, polyaspartic, or polyurea touches down is just as important as the coating itself. At Garage Design Source, we understand that moisture mitigation and proper surface preparation are the foundation of a durable, beautiful garage floor that will last for years to come. Many homeowners in Chantilly are surprised to learn that inadequate preparation is the leading cause of coating failure - peeling, bubbling, and adhesion problems that compromise both the appearance and longevity of their investment.
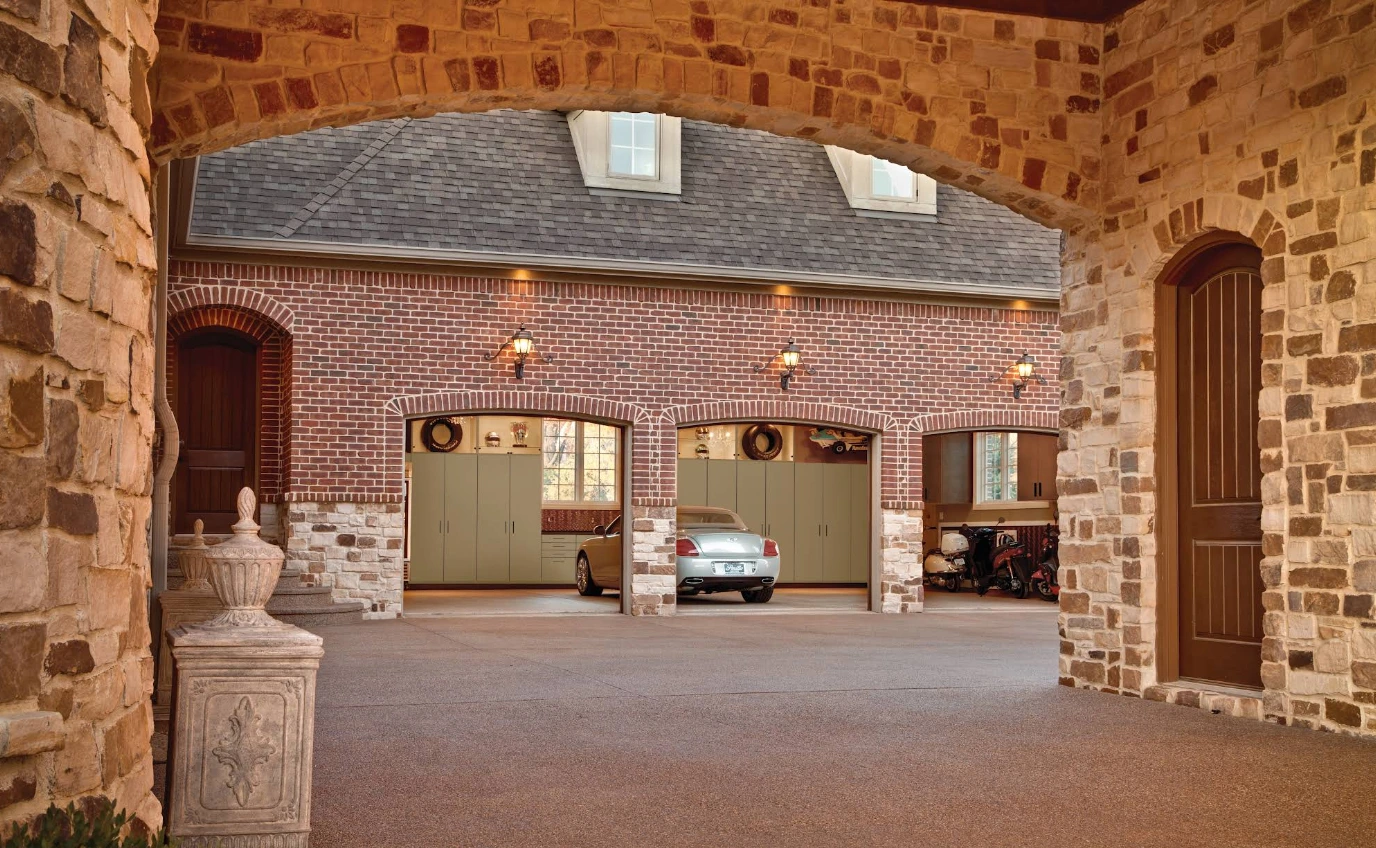
Moisture Mitigation & Surface Prep in Chantilly, VA
When you're ready to transform your garage floor with a premium coating system, the work that happens before the first coat of epoxy, polyaspartic, or polyurea touches down is just as important as the coating itself. At Garage Design Source, we understand that moisture mitigation and proper surface preparation are the foundation of a durable, beautiful garage floor that will last for years to come. Many homeowners in Chantilly are surprised to learn that inadequate preparation is the leading cause of coating failure - peeling, bubbling, and adhesion problems that compromise both the appearance and longevity of their investment.
This guide walks you through why moisture testing and surface preparation matter, what the process looks like, and how our approach ensures your garage floor coating performs flawlessly.
Why Moisture & Surface Prep Are Non-Negotiable
Your concrete garage floor is constantly interacting with the environment around it. In Chantilly, where we experience seasonal moisture fluctuations and humidity levels that vary throughout the year, concrete naturally wicks moisture from the ground and surrounding air. This moisture can become trapped beneath a coating system, leading to adhesion failure and a coating that doesn't cure properly.
Surface preparation is equally critical. Even a seemingly clean concrete floor often has a layer of dust, contaminants, old sealers, or a dense concrete skin that prevents coating adhesion. Without removing these barriers, even the best coating materials won't bond properly to your substrate.
The stakes are high: poor preparation can result in a coating that fails within months rather than years, leaving you with a cracked and peeling surface that requires costly remediation. That's why at Garage Design Source, we never cut corners on preparation. It's the difference between a garage floor that looks great for a decade and one that fails prematurely.
Moisture Testing - Understanding Your Concrete
Before any coating application, we conduct comprehensive moisture testing to evaluate the condition of your concrete substrate. This step is especially important in Northern Virginia, where humidity and seasonal moisture changes can significantly affect concrete.
Calcium Chloride Testing is one of the most reliable methods we use. This test measures moisture vapor emission from the concrete surface. We place a calcium chloride salt in a sealed chamber on your floor and measure how much moisture the concrete releases. If moisture levels are too high, a coating applied directly to the surface will likely fail because the moisture creates a barrier between the concrete and the coating material.
Relative Humidity Testing provides another critical data point. Using specialized meters, we measure the relative humidity inside the concrete pores themselves. This tells us whether the concrete has dried sufficiently for coating application. Different coating systems have different requirements - some epoxies can tolerate higher moisture levels, while polyaspartic and polyurea systems are more sensitive.
Visual Assessment is also part of our testing protocol. We look for signs of existing moisture problems: efflorescence (white mineral deposits on the surface), dark spots indicating trapped moisture, or areas where previous sealers have failed. These visible indicators tell us a lot about how your concrete has performed over time.
The results of these tests directly inform our preparation strategy. If we find excessive moisture, we may recommend a moisture vapor barrier primer or moisture mitigation system before applying your topcoat. This ensures that your coating adheres properly and performs as intended.
Substrate Repair - Fixing Concrete Problems
A sound concrete surface is essential for coating success. Even small cracks and joints that seem minor can become major problems once a coating is applied. We address all substrate issues before preparation and coating begins.
Crack Repair involves more than just filling a crack. We first clean out the crack, removing any loose concrete, dust, or debris. For hairline cracks (less than 1/8 inch), we use specialized concrete crack fillers that penetrate deep into the crack and cure hard. For wider cracks, we may use polyurethane or epoxy-based crack sealants that remain slightly flexible, accommodating minor concrete movement without re-cracking.
Joint Repair and Sealing is critical, especially where your garage floor meets the foundation or where control joints cross the floor. These are natural points of movement and moisture intrusion. We clean, repair, and seal these joints with appropriate materials that match the rest of your coating system. Sealed joints prevent water from entering cracks and extending damage beneath your coating.
Spalls and Damaged Areas - if your concrete has areas where the surface has spalled (where chunks of concrete have flaked away), we repair these before coating. Filling and feathering these areas creates a smooth, even surface that the coating can adhere to uniformly.
Concrete Patching for deeper damage involves cleaning the damaged area, applying a concrete bonding agent, and filling with a high-quality patching compound. We allow proper curing time before moving forward with profiling and coating. This ensures that repairs are structural and will support the new coating system.
By addressing these substrate issues now, we prevent them from becoming failures later. A properly repaired concrete surface is the canvas for a professional-grade coating that will serve your Chantilly garage for years.
Mechanical Profiling - Creating the Ideal Surface
Concrete has a naturally dense outer layer (called laitance) that prevents coating adhesion. Mechanical profiling removes this barrier and opens the pores of the concrete, creating a surface that coatings can grip firmly. We use two primary methods depending on your floor condition and the specific coating system you've chosen.
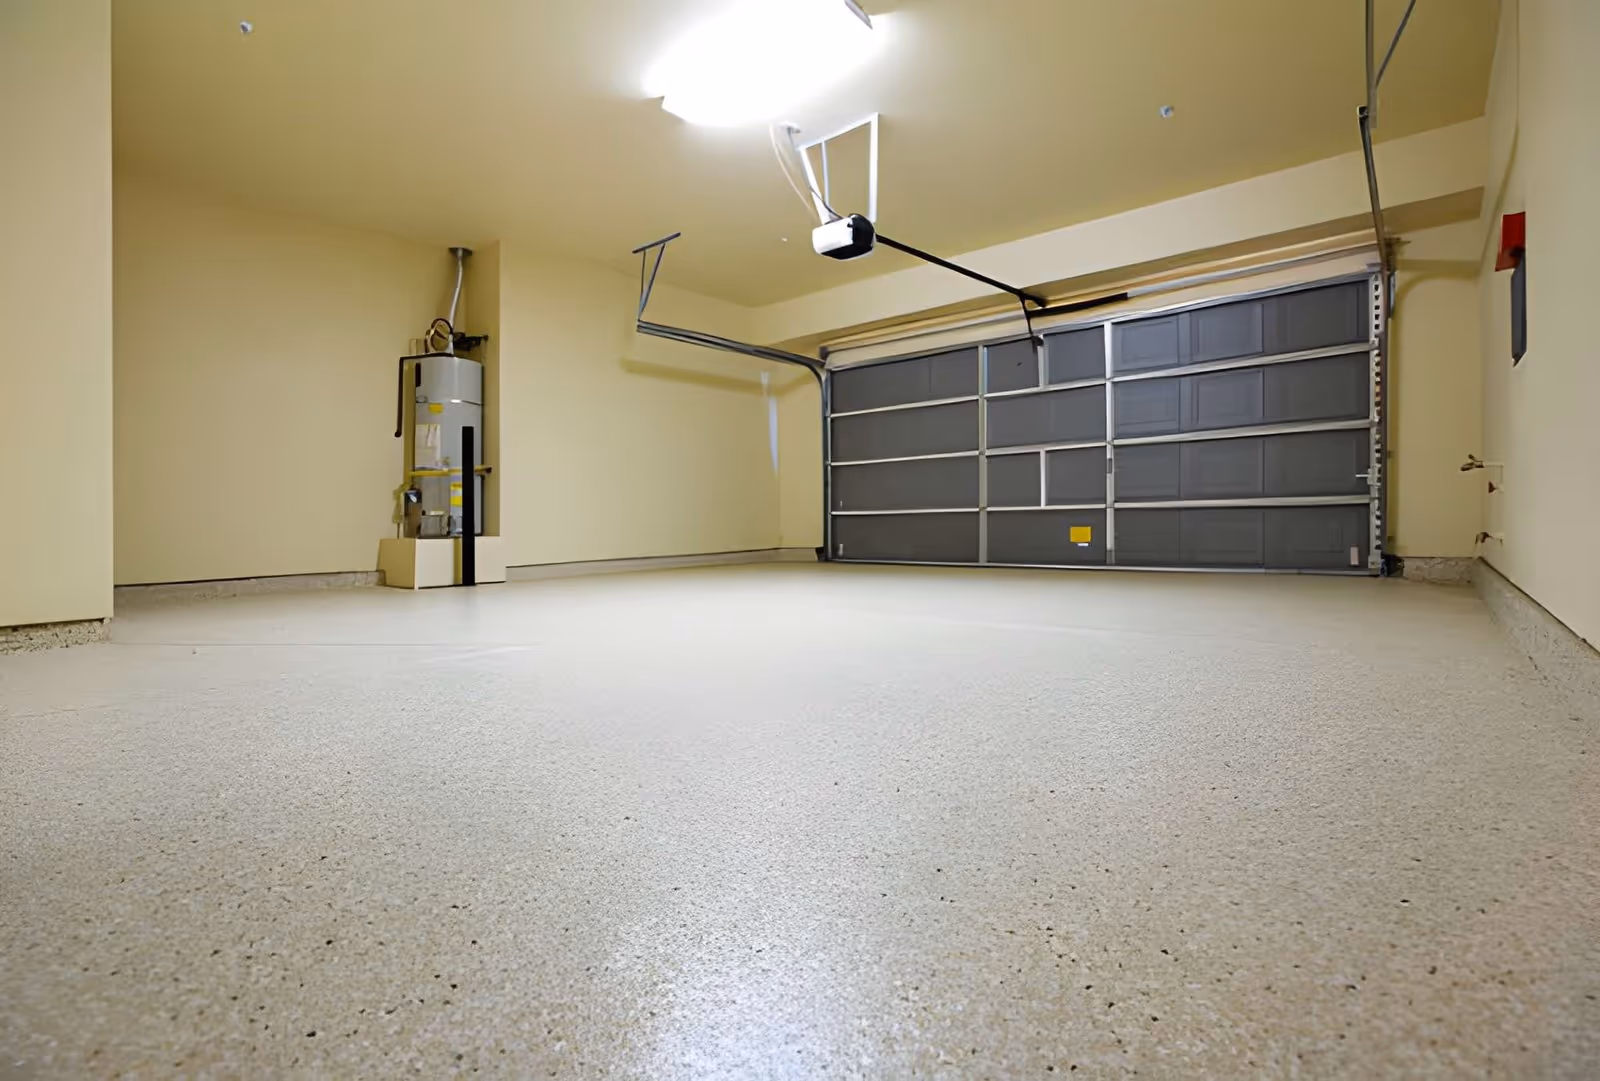
Grinding is the most common approach. We use commercial-grade concrete grinders with specialized diamond grinding heads to remove the top layer of concrete, exposing the aggregate and opening the pores. This process also creates micro-texture that dramatically improves coating adhesion. The floor is ground systematically in overlapping passes, with dust collection happening in real-time to keep the workspace clean. For many Chantilly homeowners, grinding is ideal because it's effective, doesn't generate excess noise, and leaves a smooth, professional finish ready for coating.
Shot Blasting uses small steel pellets propelled at high velocity to impact and remove the concrete surface. This method is incredibly effective at removing stubborn coatings, sealers, or heavily contaminated surfaces. It creates an aggressive profile that's ideal for high-performance polyaspartic or polyurea systems. Shot blasting does generate more dust and noise than grinding, but the result is a very open, receptive surface.
The depth of profiling depends on your coating system. Epoxy systems typically require a medium profile (roughly 60-90 mils). Polyaspartic and polyurea systems often benefit from a more aggressive profile (90-120 mils) to ensure maximum adhesion. During the assessment phase, we determine the right profiling method and depth for your specific coating choice.
After profiling, the floor is vacuumed thoroughly and, in many cases, damp-wiped to remove all dust and debris. A completely clean surface is essential - any remaining dust will interfere with coating adhesion and create weak spots in your finished floor.
Primers and Moisture Barrier Options
Once the substrate is properly prepared, we assess whether a primer or moisture barrier is necessary. These products serve different purposes and are chosen based on your moisture testing results and coating system selection.
Moisture Barrier Primers are used when calcium chloride or humidity testing indicates elevated moisture levels. These primers contain special resins and additives that allow them to cure even in the presence of moisture, creating a barrier that prevents moisture vapor from reaching the topcoat. Products like epoxy-based moisture barrier primers are commonly used in Northern Virginia homes where moisture fluctuations are common. They allow us to proceed with coating application even when moisture levels are slightly elevated, though we always recommend bringing moisture levels down through mitigation if possible.
Epoxy Primers are applied to properly prepared, dry concrete as the first coat in a multi-coat system. These primers seal the pores of the concrete, create adhesion between the substrate and the topcoat, and provide additional protection. Epoxy primers are particularly important when using softer topcoat systems like polyaspartic or polyurea, as they ensure the entire system performs as an integrated unit.
Polyurethane Primers offer excellent adhesion and flexibility, making them ideal for concrete that experiences some movement or stress. These are often our recommendation when a floor has a history of minor cracking or when the concrete substrate shows signs of minor instability.
Moisture Mitigation Systems go beyond a simple primer. For basements or floors with persistent moisture issues, we may recommend a complete moisture mitigation system that includes moisture-wicking primers, ventilation strategies, or even a vapor retarder membrane applied before the primer. These comprehensive systems ensure that moisture problems don't compromise your investment.
The choice of primer and moisture barrier system depends entirely on your concrete condition and your chosen coating type. During the assessment, we'll recommend the specific products and systems that give your garage floor the best foundation for success.
Adhesives and Primers for Coating Systems
The primer you choose must be compatible with your topcoat system. This compatibility is critical for performance and warranty purposes.
For Epoxy Coating Systems, we typically use high-quality epoxy primers that cure to a hard, durable finish and create excellent adhesion to the prepared concrete. Epoxy-to-epoxy adhesion is the gold standard, and matching primers to topcoats ensures the entire system cures and performs as designed. The epoxy primer also seals the concrete, preventing bleed-through of moisture or concrete dust.
For Polyaspartic Coating Systems, the primer is even more critical because polyaspartic topcoats cure very quickly and demand exceptional adhesion. We use primers specifically formulated for polyaspartic systems - often aliphatic polyaspartic or polyurea primers that provide the chemical compatibility needed for strong bonds. These primers must cure quickly as well to keep your project timeline on schedule, since fast-curing polyaspartic topcoats won't wait for a slow-curing primer.
For Polyurea Coating Systems, we use primers engineered for polyurea application. Polyurea topcoats cure almost instantly (sometimes in minutes), so the primer must be fully cured and ready to receive the topcoat on the same day. We select polyurea-compatible primers that provide the adhesion and compatibility this premium system demands.
At Garage Design Source, we never mix and match primer and topcoat systems carelessly. We specify primers that are chemically and mechanically compatible with your chosen coating, ensuring that every layer works in harmony. This attention to detail is one reason our floors outperform expectations.
Expected Timeline for Complete Preparation and Application
Understanding how long the entire process takes helps you plan for garage access and disruption. The timeline varies based on the condition of your concrete and the specific systems we're using.
Initial Assessment and Testing typically takes 1-2 days. We visit your Chantilly home, assess the concrete, conduct moisture testing, and discuss your coating options and timeline. We'll provide recommendations based on what we find.
Moisture Mitigation and Substrate Repair can take 3-7 days depending on the extent of repairs needed. Minor crack sealing might take just a day, while extensive spall repair and concrete patching could take longer. Concrete patches and crack fillers need adequate curing time - we factor this into the schedule.
Profiling (Grinding or Shot Blasting) typically takes 1-2 days for an average Chantilly garage. The exact time depends on the floor size and the aggressiveness of profiling required. After grinding, we allow a day for dust cleanup and the final surface preparation.
Primer Application and Curing happens next. Depending on the primer system, this might cure overnight or over 24 hours. We schedule primer application after confirming that the prepared concrete is clean and dry.
Topcoat Application varies based on whether you're choosing a single-coat or multi-coat system. Some polyaspartic systems can be applied in a single day (primer and topcoat same day), while multi-coat epoxy systems might take 2-3 days with curing time between coats.
Final Curing Time before you can use your garage floor varies by coating type. Epoxy typically requires 24-48 hours before light use and 7 days for full cure. Polyaspartic and polyurea systems can often handle light traffic within 24 hours, with full cure in 3-5 days.
Total Project Duration from start to full cure typically ranges from 2-3 weeks, depending on concrete condition, repair needs, and coating system chosen. We'll provide a specific timeline once we've assessed your floor.
During this time, we keep your garage organized and minimize disruption to your home. We also communicate proactively about any findings or changes to the plan.
Warranty Implications
The preparation and priming work we perform directly impacts the warranty coverage we can offer on your garage floor coating. This is important to understand.
Coatings applied to improperly prepared surfaces are at high risk of failure. Most reputable coating manufacturers won't warrant their products if substrate preparation hasn't met their specifications. At Garage Design Source, we ensure that every preparation step meets or exceeds manufacturer requirements, which means your coating warranty is valid and meaningful.
When you invest in a premium coating system from Garage Design Source, you're investing in preparation work that protects that investment. We document the moisture testing, repair, profiling, and primer application so that you have complete transparency about what was done to prepare your floor. This documentation is important if you ever need to reference the warranty.
Our commitment to preparation excellence is also a commitment to warranty peace of mind. We don't rush preparation to save time, because that would compromise the warranty and ultimately harm your floor.
Successful Project Examples in Chantilly
We've completed dozens of moisture mitigation and coating projects throughout Chantilly and the surrounding Northern Virginia region. While every floor is unique, a few common scenarios showcase why our preparation approach works.
The Older Garage Foundation - We recently prepared and coated the garage floor in a Chantilly home built in the 1980s. The concrete showed signs of moisture and efflorescence from years of groundwater interaction. We performed comprehensive moisture testing, installed a moisture barrier primer, and applied a protective epoxy coating. The homeowner was thrilled to see that the coating held up beautifully, even through a damp spring season that typically causes problems with less robust systems.
The Stamped Concrete Transformation - Another Chantilly customer had an older decorative stamped concrete floor that needed coating. The texture made preparation more challenging, but our grinding process smoothed the surface while preserving the aesthetic memory of the original design. After moisture testing showed elevated humidity, we applied a moisture-mitigating primer followed by a durable polyaspartic topcoat. The result was a modern, sleek floor that was easy to maintain.
The High-Traffic Commercial Garage - For a small Chantilly-area business, we prepared and coated a heavily-trafficked garage floor that needed to withstand daily vehicle movement and the occasional spill. Thorough substrate repair, aggressive profiling, and a polyurea topcoat system created a floor that's maintained its appearance through intense use.
These projects illustrate an important principle: when preparation is done right, the coating performs right. Moisture is mitigated, adhesion is excellent, and your floor looks and performs beautifully for years.
Choosing the Right Preparation and Coating System for Your Home
At Garage Design Source, we approach every garage floor project as a custom endeavor. Your home, your concrete condition, and your usage patterns are unique. That's why our preparation and assessment process is thorough and specific to your situation.
If you're considering a garage floor coating for your Chantilly home, the first step is a professional assessment. We'll test your concrete, evaluate moisture levels, identify any substrate issues, and recommend the specific preparation and coating system that will deliver the best results for your home. We'll explain every step of the process and why it matters, so you understand how we're protecting your investment.
The foundation of a beautiful, durable garage floor is preparation. At Garage Design Source, we never skip steps or cut corners on this critical phase. It's how we ensure that your coated garage floor stays beautiful and functional for years to come.