Before any garage floor coating transforms your concrete into a durable, beautiful surface, the foundation must be perfectly prepared. Moisture mitigation and surface preparation are the critical first steps that determine whether your epoxy, polyaspartic, or polyurea coating will last for years or fail prematurely. At Garage Design Source, we know that cutting corners on prep work is the fastest way to compromise your investment. This is why we treat moisture mitigation and surface preparation as seriously as the coating itself.
.avif)
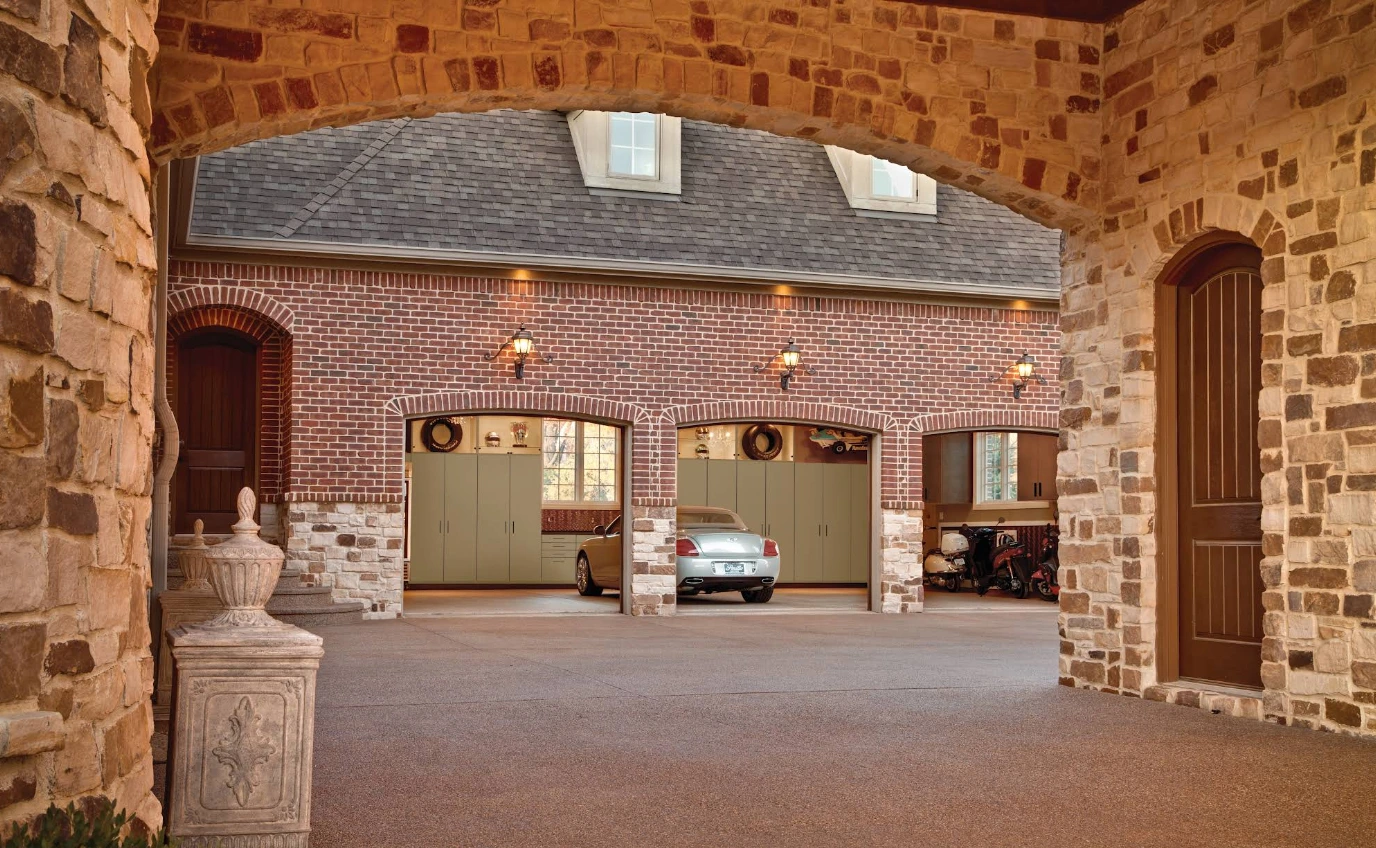
Moisture Mitigation & Surface Prep in Chevy Chase, MD
Before any garage floor coating transforms your concrete into a durable, beautiful surface, the foundation must be perfectly prepared. Moisture mitigation and surface preparation are the critical first steps that determine whether your epoxy, polyaspartic, or polyurea coating will last for years or fail prematurely. At Garage Design Source, we know that cutting corners on prep work is the fastest way to compromise your investment. This is why we treat moisture mitigation and surface preparation as seriously as the coating itself.
In Chevy Chase and throughout the Washington D.C. metro region, moisture challenges are particularly common. Our local climate, with its humid summers and freeze-thaw cycles, creates conditions where concrete naturally absorbs moisture from the ground and atmosphere. Without proper moisture testing, mitigation strategies, and substrate preparation, even premium coatings can bubble, peel, or fail. We've seen countless homeowners invest in beautiful finishes only to watch them deteriorate because the underlying concrete wasn't properly prepared. That's why Garage Design Source insists on a thorough, science-backed approach to every floor coating project.
Why Moisture Mitigation Matters for Garage Floors
Your garage floor sits on concrete that's in direct contact with soil and groundwater. Even if your garage stays dry on the surface, moisture is constantly migrating through the concrete from below. This moisture vapor transmission (MVT) is often invisible to the naked eye but devastating to coatings. When moisture becomes trapped between your concrete and a new coating, it creates pressure that pushes the coating away from the substrate, causing blistering, bubbling, and eventual failure.
The problem is particularly acute in the Chevy Chase area, where basements and garage floors commonly experience moisture intrusion during heavy rains or seasonal changes. Some homeowners don't realize they have a moisture problem until after they've invested in a fresh coating. Our job is to catch and address these issues before the first drop of epoxy hits the concrete.
Moisture barriers and vapor reduction techniques are essential investments that extend the life of your garage floor coating from just a few years to a decade or more. Without them, you're essentially setting yourself up for costly repairs down the line.
Moisture Testing - The Essential First Step
Every garage floor coating project Garage Design Source undertakes begins with comprehensive moisture testing. This isn't guesswork - it's science. We use industry-standard testing methods to measure the actual moisture vapor transmission rate (MVTR) of your concrete before we design any coating solution.
The most common moisture testing methods include:
- Calcium Chloride Testing: We place a specially calibrated dish on your concrete floor and seal it for a specific period. This measures how much moisture vapor is being released from the concrete. It's one of the most reliable methods for determining if your floor is suitable for coating application.
- Relative Humidity Testing: Using moisture probes inserted into the concrete, we measure the relative humidity level within the substrate itself. This gives us a precise picture of moisture conditions at different depths.
- Infrared Thermography: In some cases, we use thermal imaging to identify cold spots where moisture condensation is likely occurring - another sign of moisture issues.
- Visual and Physical Inspection: We examine the concrete for staining, efflorescence (white, chalky deposits), mold growth, or salt deposits - all indicators of past or present moisture problems.
Based on these test results, we determine whether your concrete can accept a standard epoxy coating, or whether you need additional moisture mitigation measures. In many Chevy Chase homes, we find that moisture levels require either a moisture-blocking primer, a vapor barrier system, or in some cases, a permeable coating that allows moisture to escape while still protecting your concrete.
Substrate Repair - Fixing the Foundation
Once we understand your moisture situation, the next phase is repairing any damage or deterioration in the concrete itself. A beautiful coating can't hide underlying problems - it can only emphasize them. We address several types of substrate issues:
Crack Repair
Concrete cracks are inevitable, especially in older Chevy Chase homes where foundations have settled and concrete has aged. Hairline cracks might seem cosmetic, but they're pathways for moisture infiltration and potential failure points for your new coating. We repair cracks using specialized concrete crack fillers and sealants. For wider or structural cracks, we use self-leveling epoxy or polyurethane injection systems that fill the crack completely and create a moisture-resistant seal. Small cracks are typically filled with epoxy putty and leveled flush with the surrounding surface. Larger cracks may require routing (creating a V-shaped groove) and filling with flexible sealant to accommodate natural concrete movement.
Joint Repair and Sealing
Control joints and expansion joints in your concrete are intentionally designed to allow the concrete to move slightly without cracking. However, these joints can become repositories for dirt, moisture, and debris. Over time, they weaken and become entry points for water. We clean these joints thoroughly and seal them with flexible polyurethane sealants or epoxy-based joint fillers. This step is often overlooked by less experienced contractors, but it's essential to the longevity of your coating system.
Surface Damage and Spalling
Spalling - where chunks of concrete have flaked away - is common in garages, especially where road salt or de-icing chemicals have been tracked in during winter. We remove loose concrete, feather the edges of damaged areas, and fill them with concrete repair compounds that match the density and surface finish of your original floor. This ensures that your new coating adheres properly across the entire surface.
Oil and Stain Removal
Even old oil stains can interfere with coating adhesion. We use specialized degreasers and poultice treatments to pull embedded oil and stains from the concrete. This is one of the most underestimated steps in surface preparation, but it's crucial for coating success. Coatings won't stick to oily surfaces, no matter how well the rest of the prep work is done.
Mechanical Profiling - Creating the Perfect Surface
After substrate repair comes mechanical profiling - essentially, roughing up the concrete to create an ideal surface for coating adhesion. The concrete must have the right texture: not too smooth, not too rough. Think of it like sanding wood before staining - the surface needs to be prepared to accept the finish.
Grinding
For most residential garage floors in Chevy Chase, we use concrete grinding to create a uniformly textured surface. This process removes the top layer of concrete (about 1/16 to 1/8 inch), exposing fresh concrete underneath. Grinding serves multiple purposes: it removes any remaining contaminants, it opens up the pores of the concrete for better primer adhesion, and it creates a uniform appearance by removing old coatings, sealers, or discolored areas. The result is a clean, matte surface that's ready for primer application. Grinding also helps identify any hidden moisture issues or structural problems that weren't visible on the original surface.
Shot Blasting
For heavy-duty applications or when dealing with particularly stubborn coatings or contaminants, we use shot blasting - a process where small steel pellets are propelled at high velocity against the concrete surface. This is more aggressive than grinding and creates a profile that's excellent for maximum coating adhesion. Shot blasting is less common in residential applications but is sometimes necessary for commercial spaces or in situations where a previous coating has failed.
Broom Blasting or Vacuum Scarification
In some cases, lighter surface preparation methods like broom blasting or vacuum scarification may be appropriate. These methods are gentler than grinding but still create adequate surface texture for most epoxy applications. We assess your specific concrete condition and recommend the most appropriate method.
The goal of mechanical profiling is to achieve what the industry calls "surface profile" - a specific measurement of how deep the texture is. Different coatings require different surface profiles. Epoxy systems typically need a profile of 2.0 to 3.0 mils, while polyaspartic and polyurea systems often work well with slightly different profiles. Our team knows exactly what each coating system requires and adjusts our mechanical profiling accordingly.
Moisture Barrier Systems - Your Protection Strategy
After mechanical profiling, we're ready to address moisture protection. Depending on your moisture test results and concrete condition, we apply moisture barrier systems. These come in several forms:
Moisture-Blocking Primers
These specialized primers are designed to block moisture vapor transmission while still allowing the concrete to cure. Moisture-blocking primers create a vapor barrier on the surface of the concrete, preventing moisture from being trapped beneath your topcoat. In Chevy Chase, where moisture is often present, we frequently recommend moisture-blocking primers as the first line of defense. These primers are compatible with epoxy, polyaspartic, and polyurea topcoats and add significant durability to your overall coating system.
Epoxy Primer Systems
Standard epoxy primers serve two purposes: they block some moisture and they provide excellent adhesion for topcoats. An epoxy primer creates a stronger bond between the concrete and your final coating, reducing the risk of peeling or failure. For moderate moisture situations, epoxy primers often provide adequate protection while maintaining maximum color and gloss options for your topcoat.
Two-Part Polyurethane Primers
In very high-moisture environments, we sometimes recommend two-part polyurethane primers. These have exceptional moisture tolerance and can be applied even when concrete moisture levels are slightly elevated. Polyurethane primers are particularly good for basements or garages where moisture is chronic.
Sealers and Penetrating Sealants
Before applying any moisture barrier, we may use a penetrating concrete sealer to lock in any residual moisture and stabilize the substrate. This step is especially important in older Chevy Chase homes where concrete has been exposed to decades of weather.
The specific moisture barrier system we recommend for your garage depends entirely on your moisture test results, your local climate exposure, and the type of topcoat you choose. There's no one-size-fits-all solution, which is why our testing and assessment phase is so critical.
Adhesives and Primers for Epoxy Systems
Epoxy coatings are the most popular choice for garage floors because they offer excellent durability, chemical resistance, and a professional appearance. However, epoxy is only as good as the bond it forms with your concrete. The right primer is essential.
For epoxy topcoats, we typically use epoxy primers that are specifically formulated to accept epoxy topcoats. These primers contain similar resin chemistries, which means they bond chemically with both the concrete and the final epoxy layer. This creates a unified system that moves and flexes together. The primer fills microporosity in the concrete, leveling the surface and creating a uniform base. A quality epoxy primer typically costs more than a standard primer, but it's an investment that directly extends the life of your coating.
We ensure proper ratios when mixing epoxy primers - the hardener and resin must be combined precisely. Incorrect ratios lead to poor curing, soft coatings, and premature failure. Our team has decades of combined experience mixing and applying epoxy systems correctly, which is a significant differentiator from DIY approaches. Epoxy primers should cure fully before topcoat application - typically 16-24 hours depending on temperature and humidity. In Chevy Chase's variable spring and fall weather, we carefully plan application timing to ensure optimal curing conditions.
Adhesives and Primers for Polyaspartic Systems
Polyaspartic coatings cure significantly faster than epoxy - sometimes in just a few hours. This speed is attractive, but it creates challenges for surface preparation. Polyaspartic primers must cure quickly as well, which means they need higher quality ingredients and more careful application.
For polyaspartic topcoats, we use high-performance polyaspartic primers that are chemically compatible with the topcoat. These primers typically cure in 4-8 hours, allowing us to apply topcoat the same day in many cases. The fast cure time reduces project duration, which many homeowners appreciate. However, faster curing also means less time to work with the material, so precision application is critical.
Polyaspartic primers are often more expensive than epoxy primers, but they offer superior UV resistance and don't yellow over time the way some epoxy primers do. If your garage has skylights or windows in Chevy Chase, polyaspartic primers maintain their clarity and aesthetic appeal much better than alternatives.
Adhesives and Primers for Polyurea Systems
Polyurea is the ultimate in coating performance - fast curing, extremely durable, and resistant to just about everything. However, polyurea requires the most aggressive surface preparation and the most advanced primer systems. Polyurea primers typically cure in 2-4 hours and must be applied to mechanically profiled concrete with precision.
We use aliphatic polyurea primers for residential applications, which offer excellent UV stability and color retention. These primers create an incredibly strong bond with the concrete and with the polyurea topcoat. The chemistry is more advanced than epoxy or polyaspartic systems, which is why polyurea coatings are more expensive but also longer-lasting in high-traffic environments.
Polyurea primers require careful temperature and humidity management during application. In Chevy Chase's variable seasonal weather, we plan polyurea applications for conditions that allow optimal curing. Too much humidity can trap moisture in the primer; too little can cause the coating to cure too quickly and create surface defects.
The Complete Surface Preparation Timeline
The entire moisture mitigation and surface preparation process typically takes 2-4 weeks from initial assessment to primer application, depending on your specific concrete condition. Here's what to expect:
Week One - Assessment and Testing
We perform moisture tests, visually inspect your concrete, and discuss our findings with you. We recommend the appropriate moisture mitigation strategy and surface preparation method. This phase typically takes 3-5 days.
Week Two - Repair and Preparation
We begin crack and joint repair, remove oil stains, and prepare the substrate. Depending on concrete condition, this can take several days. Repairs must cure fully before we proceed to mechanical profiling.
Week Three - Mechanical Profiling
We grind, shot blast, or scarify the concrete to the appropriate surface profile. This is typically a 1-2 day process depending on floor size and condition. After mechanical profiling, we thoroughly vacuum and clean the surface to remove all dust.
Week Three to Four - Moisture Barrier Application
Once the surface is clean and prepared, we apply primers and moisture barrier systems. Depending on the system, these typically require 24-48 hours curing time before topcoat can be applied. We monitor weather and environmental conditions to ensure optimal curing.
Throughout this timeline, we keep your garage accessible while work is in progress. We protect areas adjacent to your workspace and clean up thoroughly each day. Our project-oriented approach means we coordinate timing that minimizes disruption to your home.
Warranty Implications of Proper Preparation
This is where proper moisture mitigation and surface preparation directly translate to warranty coverage. When Garage Design Source completes your garage floor coating, we stand behind the work with a comprehensive warranty. However, that warranty is only valid when proper surface preparation has been performed according to industry standards.
If we cut corners on moisture testing or skip mechanical profiling, we'd be voiding our own warranty. We don't take that risk, and we don't expect you to either. Every homeowner in Chevy Chase who invests in a garage floor coating from Garage Design Source deserves the confidence that comes from knowing the foundation has been properly prepared.
Proper preparation means your coating will resist peeling, cracking, and premature failure. It means stains won't reappear through your coating. It means moisture won't bubble the surface. These aren't just nice-to-haves - they're the difference between a coating that lasts 3 years and one that lasts 10 or more.
Successful Projects in Chevy Chase
We've completed hundreds of garage floor projects in Chevy Chase and throughout the Washington D.C. metro area. Many of these projects began with significant moisture or substrate damage. One local homeowner had a 40-year-old concrete garage floor that showed serious efflorescence and moisture staining. Standard surface prep wouldn't have been sufficient. We performed extensive moisture testing, identified elevated vapor transmission, installed a moisture barrier system, repaired multiple cracks and spalled areas, and completed mechanical profiling. The result: a beautiful, durable polyaspartic coating that's now three years old and looks as perfect as the day it was applied.
Another project involved a Chevy Chase property where a previous coating had failed within two years. Investigation revealed that proper moisture testing hadn't been performed, and adequate surface preparation was skipped. We removed the failed coating, tested for moisture, addressed the underlying cause, and installed a complete moisture mitigation system before applying a new coating. That project is now five years old with zero issues.
These aren't exceptional cases - they're examples of what happens when moisture mitigation and surface preparation are done right. Garage Design Source doesn't take shortcuts on these critical phases because we know that's where coating success or failure is determined.
Working with Garage Design Source for Your Project
When you contact Garage Design Source about a garage floor coating in Chevy Chase, our first conversation focuses on understanding your specific situation. We ask about moisture history, how old your garage is, whether you've had coating failures before, and what your priorities are for the finished product. We schedule an on-site assessment where we visually inspect your concrete and conduct appropriate moisture testing.
Based on that assessment, we provide a detailed explanation of the moisture mitigation and surface preparation work needed. We're not trying to upsell you - we're being honest about what your specific concrete requires. Some garages need aggressive moisture mitigation; others need minimal additional work beyond standard surface preparation. We tell you exactly what your floor needs and why.
Our team brings decades of combined experience in concrete coating systems to every project. We understand how Chevy Chase's climate affects concrete over time. We know which moisture barriers and primers work best for local conditions. We've learned what works and what doesn't through hundreds of successful projects and a commitment to continuous improvement.
The investment in proper moisture mitigation and surface preparation is an investment in the longevity of your entire coating system. Skip these steps, and you're gambling with thousands of dollars. Do them right, and your garage floor will be beautiful, durable, and protected for years to come. That's the Garage Design Source approach.