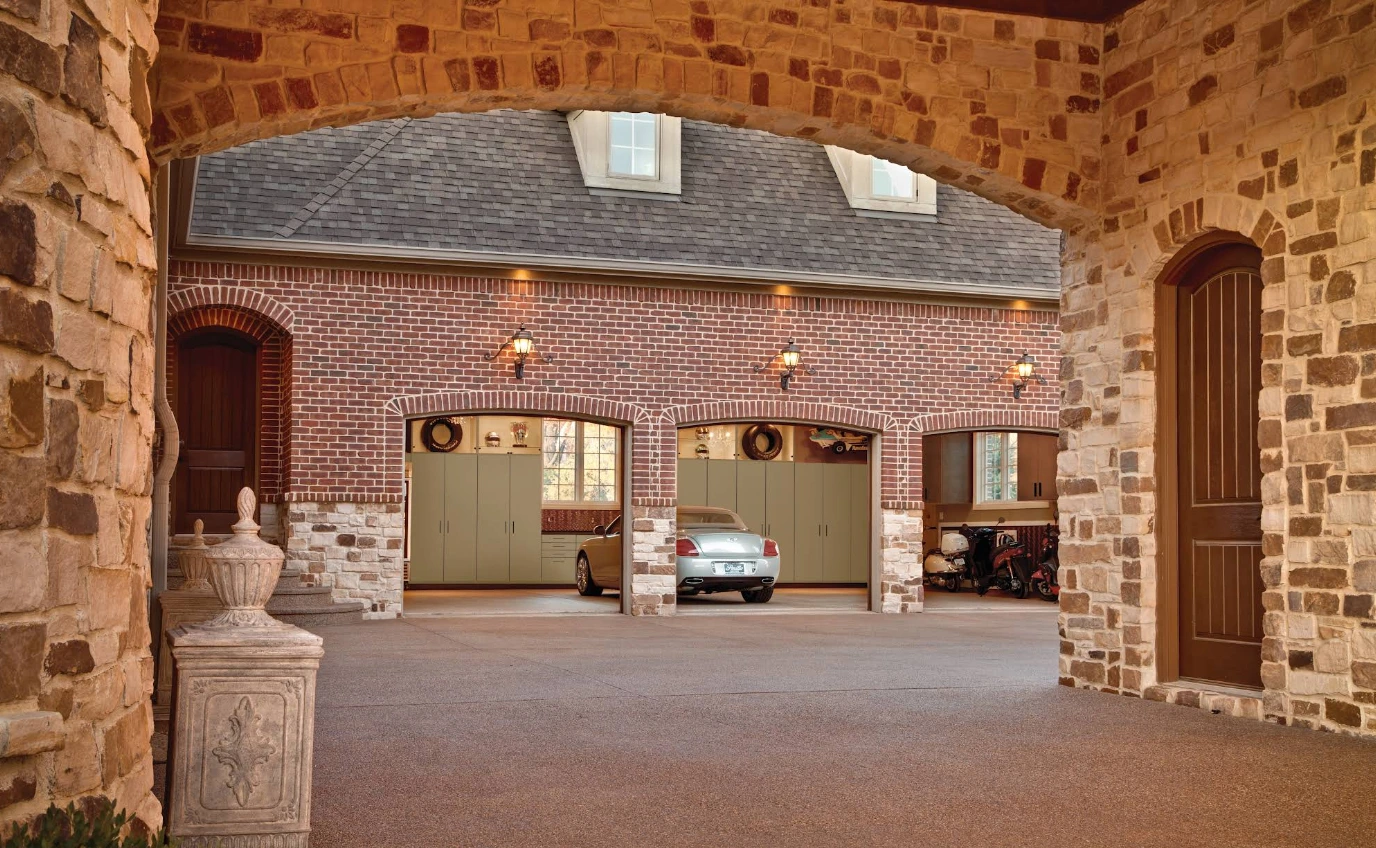
When homeowners in Herndon, VA decide to transform their garage floors with a premium epoxy, polyaspartic, or polyurea coating, they often focus on the visual end result - the gleaming, professional-looking surface that will serve them for years. However, the true foundation of any successful garage floor coating project lies in what happens before the first drop of coating is applied. Moisture mitigation and surface preparation are the critical steps that determine whether your garage floor coating will last a decade or peel away within months. At Garage Design Source, we've learned through years of specializing in garage transformations that these preparatory phases are where projects succeed or fail - and we want you to understand exactly why they matter so much.
Moisture Mitigation & Surface Prep in Herndon, VA
When homeowners in Herndon, VA decide to transform their garage floors with a premium epoxy, polyaspartic, or polyurea coating, they often focus on the visual end result - the gleaming, professional-looking surface that will serve them for years. However, the true foundation of any successful garage floor coating project lies in what happens before the first drop of coating is applied. Moisture mitigation and surface preparation are the critical steps that determine whether your garage floor coating will last a decade or peel away within months. At Garage Design Source, we've learned through years of specializing in garage transformations that these preparatory phases are where projects succeed or fail - and we want you to understand exactly why they matter so much.
Why Moisture Mitigation is Non-Negotiable
Concrete is porous. Even though it appears solid and dry to the naked eye, concrete naturally wicks moisture from the ground below through a process called capillary action. In the Herndon area, where humidity and groundwater can fluctuate seasonally, this moisture problem becomes even more pronounced. If moisture isn't properly addressed before coating installation, that trapped water will eventually create pressure beneath the coating, causing adhesion failure, bubbling, peeling, and a project that fails long before it should.
Think of it this way: applying a coating over a moisture problem is like putting a Band-Aid on an infected wound. The coating itself is excellent quality, but without addressing what's underneath, the underlying issue will eventually break through. This is why moisture testing and mitigation aren't optional steps - they're essential prerequisites for any coating system to perform as designed.
The concrete slab beneath your garage floor is continuously in contact with groundwater and soil moisture, especially in Northern Virginia where we experience significant seasonal variations. When this moisture tries to escape through the concrete and is blocked by a coating, pressure builds. That pressure is relentless, and eventually, it will win. Epoxy coatings, polyaspartic systems, and polyurea products are all excellent when applied correctly over a properly prepared substrate - but they cannot adhere to a surface that has moisture vapor transmission (MVT) issues.
Moisture Testing Methods
Before Garage Design Source begins any surface preparation work, we perform comprehensive moisture testing to determine whether your concrete is ready for coating or requires additional mitigation steps. Understanding the moisture content of your substrate is the first critical decision point in the project.
Calcium Chloride Testing is one of the most widely used methods for measuring moisture vapor emissions from concrete slabs. In this test, a calcium chloride salt is placed on the concrete surface and sealed with a dome. Over 24 to 72 hours, the salt absorbs moisture from the concrete. The weight gain indicates how much moisture is being emitted from the slab. Most coating manufacturers require calcium chloride results below 3 pounds per 1,000 square feet per 24 hours for epoxy and polyaspartic systems, though polyurea can sometimes tolerate slightly higher levels.
Relative Humidity (RH) Testing provides a more detailed picture of the moisture condition within the concrete itself. Using specialized meters, we measure the relative humidity at various depths within the slab. This method is particularly valuable because it shows whether moisture issues are localized or throughout the depth of the concrete. Many manufacturers now recommend RH testing as the most accurate indicator of whether a coating will perform successfully. In Herndon homes, where basements and garage slabs can experience significant moisture pressure from groundwater, RH testing often reveals conditions that simple surface visual inspection would miss.
Moisture Meter Testing offers a quick initial assessment of surface and near-surface moisture. While not as comprehensive as calcium chloride or RH testing, it serves as an excellent preliminary screening tool. If moisture meter readings are high, we know that further, more detailed testing is warranted.
The moisture testing process typically takes 3 to 5 business days to complete, depending on the method chosen. This timeline is built into every professional garage floor coating project, including those at Garage Design Source. We don't skip this step or rush the results - proper testing takes time, but it's time that ensures your coating investment is protected.
Addressing Moisture Issues
If moisture testing reveals elevated levels, we implement targeted moisture mitigation strategies before proceeding with surface preparation and coating.
Epoxy Moisture Barriers are specialized primer products designed to seal moisture and allow coating systems to be applied even when moisture levels are somewhat elevated. These barriers work by creating a chemical bond with the concrete while still allowing residual moisture to gradually escape over time. For Herndon homes, epoxy moisture barriers are often the preferred solution because they maintain full compatibility with subsequent epoxy and polyaspartic coating layers while managing moisture conditions effectively.
Polyurethane Moisture Barriers provide similar functionality with slightly different chemical properties. These are sometimes recommended when specific project conditions or coating system choices make them more appropriate than epoxy alternatives.
Hybrid Primer Systems combine moisture mitigation with adhesion promotion, essentially serving double duty. These primers are formulated to perform even when concrete has moderate moisture issues, making them ideal for basements and ground-level garage spaces where moisture pressure is consistently present.
Concrete Repair Before Mitigation sometimes becomes necessary. If cracks, spalls, or failed areas are contributing to moisture entry, these must be addressed before applying any moisture barrier or coating. A failed concrete patch allows new moisture pathways, which undermines the entire moisture mitigation strategy.
In some cases, when moisture levels are extremely high - typically above 8 to 10 pounds per 1,000 square feet per 24 hours - we recommend exploring below-slab drainage solutions or exterior grading adjustments. These are more comprehensive approaches that might involve coordination with other contractors, but they address the root cause rather than just managing the symptom.
Substrate Repair - Cracks, Spalls, and Joints
Once moisture testing is complete and mitigation strategies are determined, the concrete surface itself requires careful attention. Herndon garage floors, like concrete everywhere, accumulate cracks and damage over the years. These imperfections must be repaired before coating application.
Crack Repair begins with careful evaluation. Small hairline cracks - those less than 1/8 inch wide - sometimes can be sealed directly during the surface preparation process using specialized crack sealers that accept coating systems. However, wider cracks or cracks that are actively moving require more substantial repair.
For structural cracks wider than 1/8 inch, we use epoxy crack injection systems. These injectable epoxies flow into the crack, bond the concrete together, and then accept the top coating. The process involves cleaning the crack thoroughly, applying the injection ports, injecting epoxy under pressure, and then sealing the surface. This approach not only repairs the visual defect but also restores structural integrity to the affected area.
Spalls and Pitted Areas - damaged, flaking, or pitted concrete sections - are removed entirely back to sound concrete. We use concrete scarification or grinding to remove the damaged material cleanly. This creates a clean edge that allows repair material to bond properly. For small spalls, epoxy patching compounds work well. For larger areas, specialized concrete resurfacers ensure the patch integrates smoothly with surrounding concrete and can be coated over seamlessly.
Joint Management across control joints and expansion joints requires specific attention. These joints - the planned breaks in the concrete slab - must remain functional even after coating. We clean them thoroughly, remove old sealant if present, and apply a flexible joint sealant that remains slightly recessed below the final surface. This allows the joint to move naturally while the coating bridges slightly over it, creating a professional finished appearance that doesn't crack at joint lines.
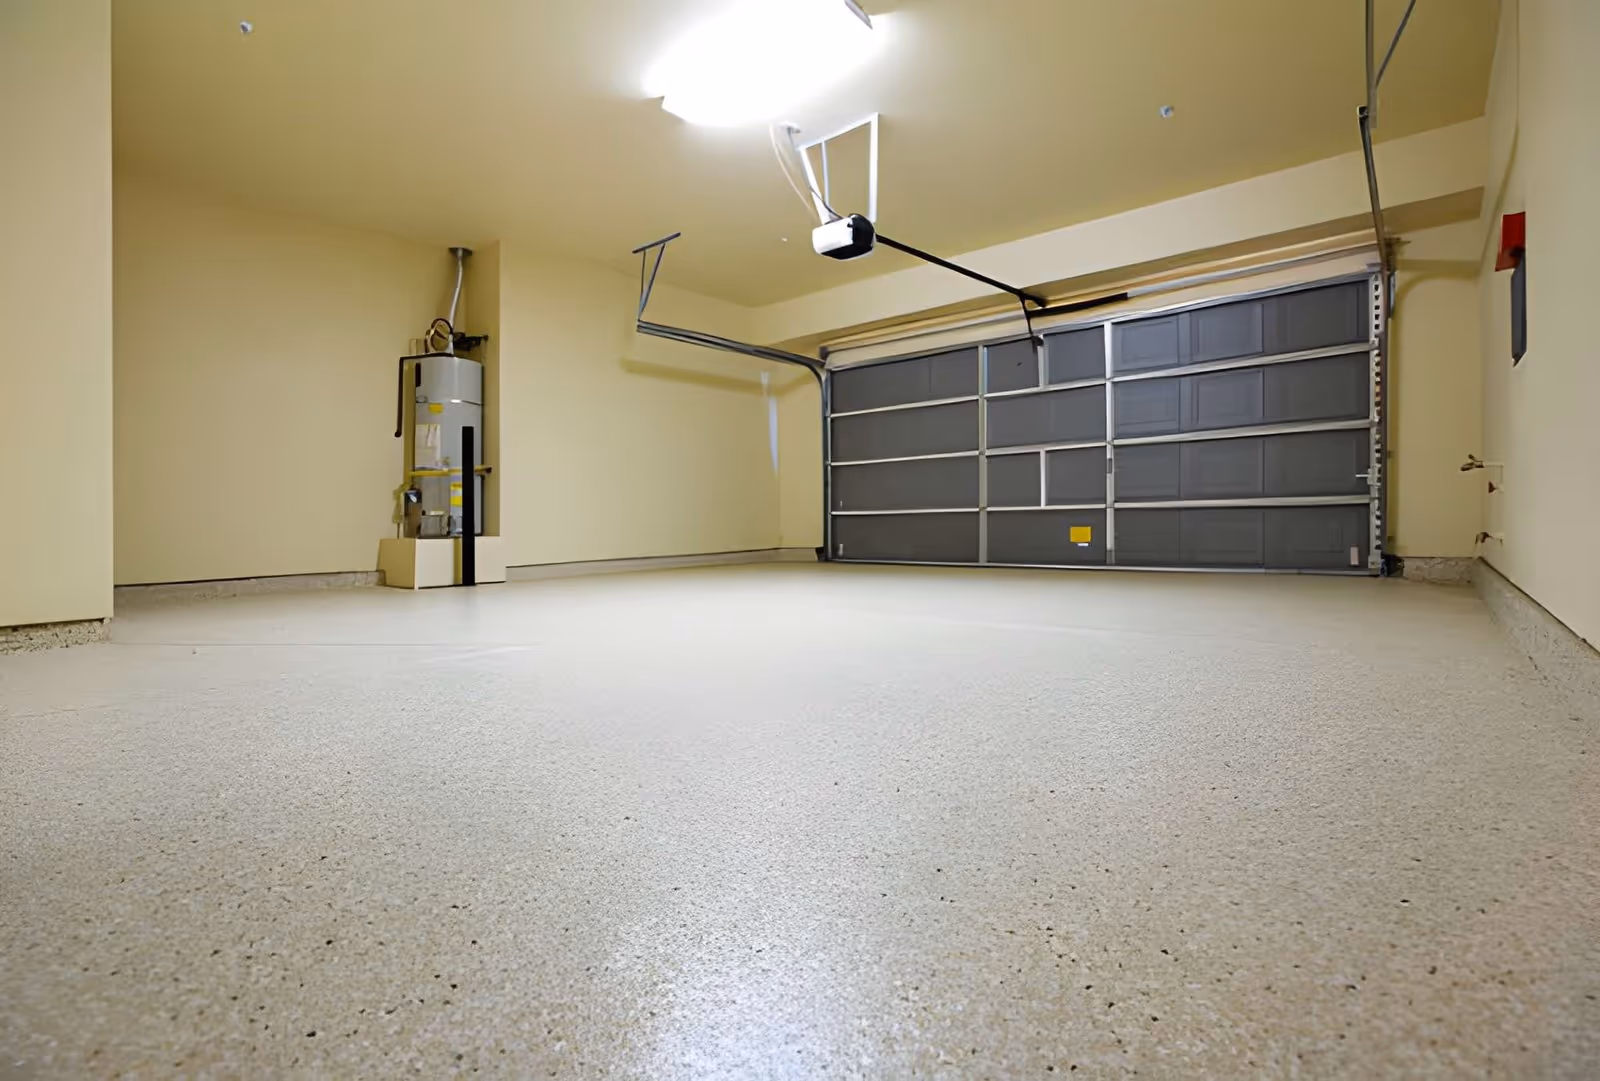
Mechanical Profiling - Creating the Ideal Surface
After moisture issues are addressed and concrete repairs are complete, the concrete surface itself must be mechanically profiled. This step removes existing coatings, sealers, curing compounds, dirt, and contaminants while creating a slightly rough surface texture that allows new coatings to bond properly.
Concrete Grinding is the most common profiling method for residential garage floors in Herndon. Using specialized grinding equipment with progressively finer diamond grinding stones, we remove the top layer of concrete - typically 1/16 to 1/8 inch - to expose fresh, clean concrete beneath. This grinding process serves multiple purposes simultaneously: it removes surface contaminants, it creates a consistent surface profile, and it provides the mechanical "tooth" that allows epoxy, polyaspartic, and polyurea coatings to grip the substrate properly.
The grinding profile should leave concrete with a slightly rough texture - similar to medium-grit sandpaper to the touch. If concrete is ground too finely, coatings may not grip well. If it's not ground enough, adhesion also suffers. This is why Garage Design Source uses experienced equipment operators who understand the proper profile requirements for different coating systems.
Shot Blasting is an alternative profiling method that uses small steel pellets fired at high velocity to strike the concrete surface. This removes surface layers and creates excellent profile in a single aggressive operation. Shot blasting is particularly effective for concrete that has existing coatings that must be completely removed, or for heavily contaminated surfaces. For most Herndon residential garages, grinding provides the ideal balance of thoroughness and control.
Acid Etching, once common for concrete preparation, is now generally avoided because it can create excessive moisture in the concrete and leaves residual salts that can affect coating adhesion. Modern grinding and shot blasting methods provide superior results.
After profiling is complete, the floor is thoroughly cleaned. First, we vacuum all dust and debris thoroughly. Then we use specialized equipment - typically a concrete cleaner and extraction system - to remove dust from the pores of the concrete. Finally, we rinse the surface with clean water to remove all contaminants, then allow it to dry completely. This cleaning process is often underestimated, but dust and residual contaminants are major contributors to coating adhesion failure.
Primer Selection for Your Coating System
The primer selected depends entirely on your chosen coating system and the specific conditions of your Herndon garage floor. Different coating chemistries require different primers for optimal performance.
Epoxy Primers are formulated to bond with epoxy coating systems. These primers cure through moisture and typically create a surface that epoxy topcoats will adhere to reliably. When your concrete has been properly profiled and is clean and dry, epoxy primer provides excellent adhesion to mineral concrete. If moisture mitigation is needed, specialized epoxy moisture barrier primers combine both functions. Epoxy primers typically cure fully within 24 hours under normal conditions, though some cure more quickly.
Polyaspartic Primers are compatible with polyaspartic topcoats and are formulated to cure even in cooler conditions and higher humidity - an advantage during spring and fall application in Northern Virginia. These primers create surface profiles that polyaspartic topcoats will bond to effectively. Some polyaspartic primers also function as moisture barriers, providing added flexibility for challenging substrates.
Polyurea-Compatible Primers are specifically formulated for rapid cure and compatibility with polyurea topcoat systems. Polyurea coatings cure extremely quickly - often within hours - so the primer must also provide rapid initial set while maintaining full adhesion development. These primers are increasingly popular for commercial applications and are becoming more common in residential settings where quick project turnaround is desired.
Epoxy Moisture Barrier Primers serve dual purposes: they mitigate moderate moisture issues while priming for epoxy topcoat systems. These are exceptionally popular for Herndon garages because they allow coating installation even when moisture levels are slightly elevated from seasonal groundwater pressure.
The choice of primer isn't about picking the "best" option - it's about selecting the option that matches your topcoat choice and your concrete's specific conditions. At Garage Design Source, we select primers based on moisture testing results, your chosen coating system, and the timeline for your project.
Recommended Adhesives and Primers by Coating Type
Different coating systems have different optimal primers and adhesion protocols. Understanding these relationships ensures your coating performs as designed.
For Epoxy Coating Systems:Epoxy primers bond chemically with epoxy topcoats, creating a seamless, durable system. We typically use epoxy primers formulated specifically for garage floor applications. These primers offer excellent adhesion to properly profiled concrete, superior moisture resistance, and excellent compatibility with epoxy topcoat products. Application rates are typically 300 to 350 square feet per gallon. For Herndon projects with elevated moisture, we use epoxy moisture barrier primers that provide additional protection while maintaining full epoxy system compatibility.
For Polyaspartic Coating Systems:Polyaspartic primers are formulated for rapid adhesion development and cure, even in less-than-ideal temperature and humidity conditions. These primers set quickly and create excellent surface preparation for fast-curing polyaspartic topcoats. The speed of polyaspartic systems - from primer to full cure in days rather than weeks - makes them attractive for homeowners who want minimal disruption. Application rates are similar to epoxy primers, typically 300 to 400 square feet per gallon.
For Polyurea Coating Systems:Polyurea primers are specialized to handle the extreme speed of polyurea topcoat curing. Polyurea coatings can cure to full hardness in 24 hours or less, so the primer must develop adequate adhesion strength very quickly. These primers are typically applied at similar coverage rates but must be applied with precision because the fast cure doesn't allow for rework. The result is exceptionally durable, fast-curing systems ideal for high-traffic garages or commercial spaces.
Expected Project Timeline
Understanding the complete timeline from moisture testing through final cure helps you plan your garage use effectively. Garage Design Source projects follow this general schedule:
Days 1-3: Moisture Testing and Evaluation - Calcium chloride and/or RH testing is set up. Results require 24 to 72 hours to develop. During this time, we also conduct a detailed site evaluation and discuss any concrete repairs needed.
Days 4-5: Concrete Repair (if needed) - Any necessary crack injection, spall repair, or joint treatment is completed. These repairs require curing time - typically 24 to 48 hours depending on the repair materials used.
Days 6-7: Surface Profiling and Cleaning - The concrete is ground or shot blasted to proper profile. Dust removal and cleaning follow. The floor must dry completely - typically overnight in normal conditions.
Days 8-9: Primer Application - Primer is applied per manufacturer specifications. Epoxy primers typically cure fully within 24 hours. Polyaspartic and polyurea primers may cure faster, depending on the specific product.
Days 10-12: Topcoat Application - The coating system is applied. Multiple coats may be required - typically 2 coats for standard 100+ mil systems. Each coat requires curing time. Epoxy systems typically require 48 to 72 hours between coats and 5 to 7 days before the floor is ready for light use.
Days 13-21: Full Cure and Return to Use - While the floor may feel hard within days, complete cure develops gradually over several weeks. We recommend limiting traffic for at least 5 to 7 days after final coat application, with full cure and maximum performance developing over 2 to 3 weeks.
For epoxy systems, this entire process typically requires 3 to 4 weeks from initial moisture testing to full cure. Polyaspartic and polyurea systems may accelerate portions of this timeline due to their faster curing characteristics.
Warranty Implications of Proper Preparation
The warranty your coating carries is directly connected to how thoroughly surface preparation has been completed. This is why Garage Design Source emphasizes preparation quality so strongly - it's not just about doing work correctly; it's about ensuring your warranty protection is legitimate and enforceable.
Coating manufacturers - whether they produce epoxy, polyaspartic, or polyurea systems - typically void warranty coverage if surface preparation hasn't met their specifications. This means if moisture mitigation was skipped, if concrete repair was incomplete, or if profiling and cleaning weren't performed properly, the coating warranty becomes unenforceable when issues develop.
When you choose Garage Design Source, you're investing in proper preparation work that maintains full warranty validity. We perform all testing, repair, profiling, and cleaning to manufacturer specifications. This thoroughness ensures that if any coating performance issues ever do arise, you have warranty protection backing your investment.
The concrete repair work we complete - crack injection, spall patching, joint preparation - typically carries 5 to 10 year warranties depending on the specific repair materials used. The moisture barrier products we apply carry performance warranties for 5 to 10 years as well. The primer and topcoat systems then carry their own warranties, often 10 years or more for epoxy and polyaspartic systems, and sometimes up to 15 years for premium polyurea applications in residential settings.
These warranties stack, creating comprehensive protection. However, all of this warranty coverage depends on proper surface preparation having been completed to manufacturer standards. Cutting corners on preparation doesn't just risk coating failure - it also forfeits the warranty protection that would cover you if problems developed.
Success Factors from Real Herndon Projects
Through years of transforming garage floors across Herndon and Northern Virginia, Garage Design Source has learned what conditions and choices lead to successful, long-lasting results.
Successful projects share several characteristics. First, they begin with honest moisture testing rather than assumptions. We've seen far too many projects where contractors skip this step, only to have homeowners deal with coating failure 18 months later. Second, successful projects address concrete repairs properly. When cracks are injected, spalls are filled, and joints are prepared correctly, the entire coating system performs better. Third, successful projects complete proper surface profiling and cleaning. When dust is thoroughly removed and the concrete profile is correct, coating adhesion is reliable and performance is excellent.
We've also observed that successful projects happen when homeowners understand the timeline and aren't rushed. Proper moisture testing takes time. Concrete repairs require cure time. Primer must cure fully before topcoats are applied. Rushing any of these steps creates risks. Our most satisfied customers are those who embraced the proper timeline and understood that the preparation phase is where their investment's long-term success is actually determined.
The coating system choice matters too. We've observed that epoxy systems work beautifully for most Herndon residential garages, offering excellent durability, aesthetic options, and reliable performance when properly prepared. Polyaspartic systems appeal to homeowners who want faster project timelines. Polyurea systems are ideal for garages with heavy use or specific aesthetic or performance requirements. But all three coating types depend equally on thorough surface preparation and moisture management.
Moving Forward with Confidence
When you're considering a garage floor coating transformation in Herndon, understanding moisture mitigation and surface preparation is essential. These aren't optional extras or contractor shortcuts that can be overlooked. They're the foundation that determines whether your coating investment delivers beauty and protection for years to come, or whether you'll face disappointing failure within months.
Garage Design Source brings decades of specialized experience in garage transformations to every project. We approach moisture mitigation and surface prep not as cost items to be minimized, but as critical success factors that deserve proper time, attention, and investment. This commitment to proper preparation is what distinguishes our work and gives our customers confidence that their coating will perform reliably.
The difference between a garage floor coating that lasts 3 years and one that lasts 15 years often comes down to decisions made during the preparation phase. Proper moisture testing reveals hidden conditions. Thorough concrete repair addresses underlying damage. Correct mechanical profiling creates the adhesion foundation. Careful primer selection matches your topcoat system. All of these elements, executed properly, combine to create a floor coating that beautifies your space and performs reliably for years.