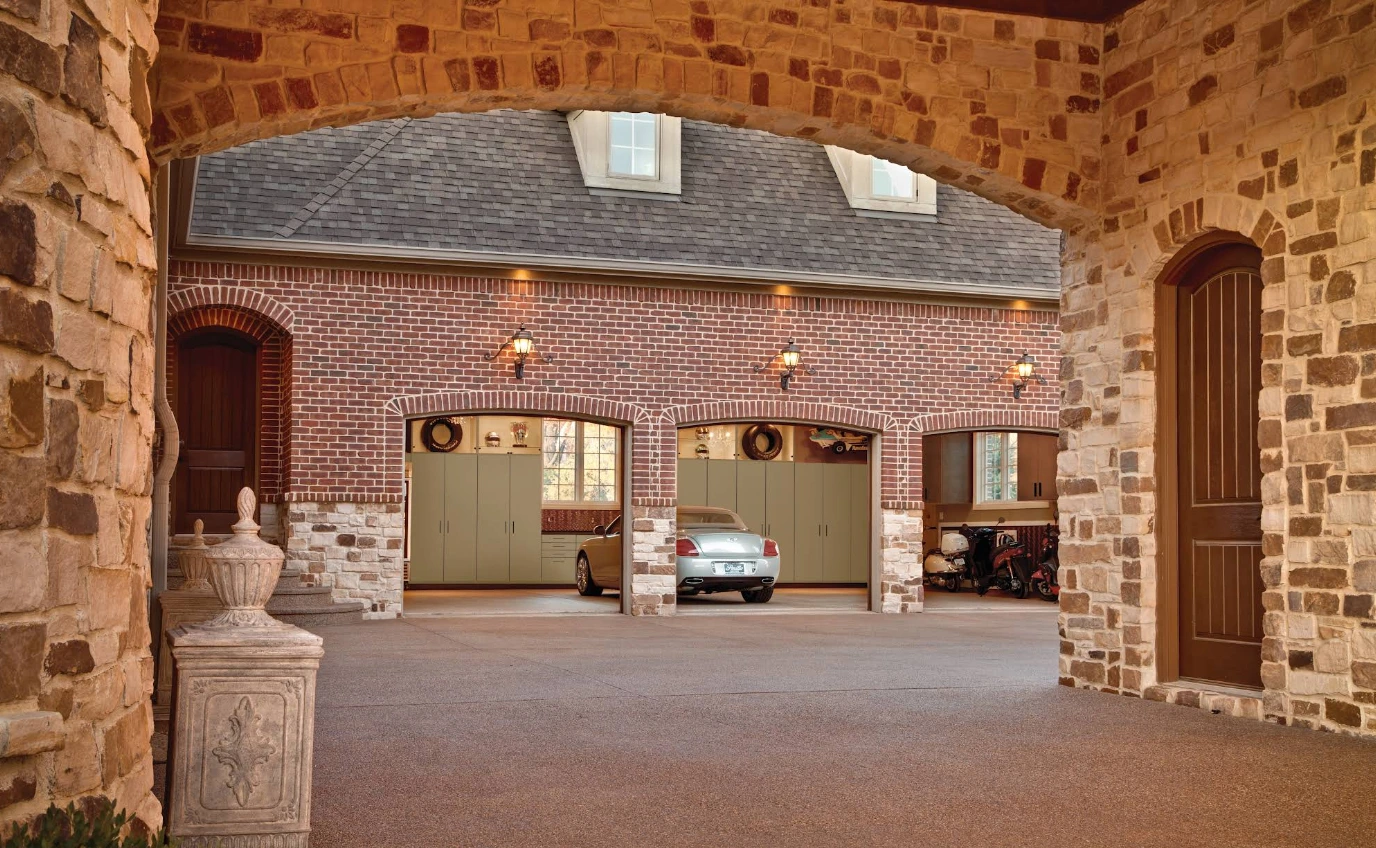
When it comes to achieving a garage floor coating that looks stunning and lasts for years, the foundation is everything. At Garage Design Source, we've learned through years of transforming garages across Northern Virginia that the most beautiful, durable epoxy, polyaspartic, and polyurea finishes start long before the first coat of color hits the concrete. Proper moisture mitigation and surface preparation are the unglamorous but absolutely critical steps that determine whether your investment becomes a lasting transformation or disappoints within months.
Moisture Mitigation and Surface Preparation in Reston, VA
When it comes to achieving a garage floor coating that looks stunning and lasts for years, the foundation is everything. At Garage Design Source, we've learned through years of transforming garages across Northern Virginia that the most beautiful, durable epoxy, polyaspartic, and polyurea finishes start long before the first coat of color hits the concrete. Proper moisture mitigation and surface preparation are the unglamorous but absolutely critical steps that determine whether your investment becomes a lasting transformation or disappoints within months.
Reston's climate, with its seasonal humidity fluctuations and occasional moisture challenges, makes this preparation work even more important for homeowners in the area. Too many garage floor coating projects fail because corners were cut during the prep phase. We're here to explain exactly why these steps matter, what goes into doing them correctly, and how our approach ensures your garage floor coating performs beautifully for the long haul.
Why Moisture Mitigation Matters Before Your Garage Floor Coating
Concrete might look solid, but it's actually porous and constantly interacting with moisture from the ground beneath your garage. This moisture can travel upward through the concrete slab in a process called capillary action, even in spaces that don't feel particularly damp. When a coating is applied over moisture, one of two problems typically occurs: the coating fails to properly bond to the concrete surface, or moisture gets trapped beneath the coating and causes it to blister, peel, and eventually flake away entirely.
In the Reston area, where humidity levels can be significant throughout much of the year, this issue becomes even more pronounced. Basement and garage spaces in Northern Virginia frequently experience moisture migration, particularly in older homes or properties with less-than-ideal drainage around the foundation. What looks like a dry concrete floor on the surface may actually have moisture problems lurking just beneath.
The good news is that modern moisture testing and mitigation strategies have become highly sophisticated. When we approach a garage floor project, we don't assume the concrete is dry enough for coating. We test it. We measure it. We address any issues we find before moving forward.
Moisture Testing Methods: How We Determine if Your Concrete is Ready
At Garage Design Source, we use industry-standard moisture testing to evaluate your garage floor's actual condition before recommending any coating system.
Calcium Chloride Testing
This is one of the most widely accepted moisture testing methods in the industry. We place calcium chloride test kits directly on the concrete surface and cover them for a set period, typically 24 hours. The calcium chloride absorbs any moisture present in the concrete, and we then measure how much weight it has gained. This tells us the moisture vapor emission rate (MVER) of your concrete slab. If the moisture levels exceed the threshold for your specific coating system, we know we need to take additional steps before proceeding.
In-Situ Relative Humidity Testing
For more precise moisture readings, particularly in cases where we're dealing with sensitive coating systems like polyurea or polyaspartic finishes, we may recommend in-situ relative humidity (RH) testing. This method involves drilling small holes into the concrete, inserting probes that measure moisture at various depths, and taking readings over several days. It provides a comprehensive picture of moisture conditions throughout the entire slab depth, which is especially valuable in older Reston homes where moisture patterns can be unpredictable.
Visual Inspection and Moisture Meter Readings
Before bringing out specialized testing equipment, we always start with a careful visual inspection of the concrete surface and a moisture meter reading. Dark spots, efflorescence (white powdery residue), or areas that just feel damp to the touch are red flags. We also evaluate drainage around the exterior of the garage and any visible cracks or gaps that could be allowing water infiltration.
If testing reveals moisture problems, we have solutions. Sometimes moisture barriers or a specific primer system is sufficient to allow us to proceed safely. In cases of significant moisture issues, we may recommend interior or exterior drainage improvements before coating work begins.
Substrate Repair: Creating a Sound Foundation for Your Coating
Even if moisture levels are acceptable, the concrete substrate itself needs to be in good condition for a coating to adhere properly and perform well. Cracks, spalling concrete, damaged joints, and other surface defects all compromise the final result.
Crack Repair and Injection
Small surface cracks are extremely common in garage floors, especially in Reston properties that have experienced freeze-thaw cycles or minor settlement over the years. We assess each crack's width, depth, and cause before deciding on the right repair approach.
For hairline cracks and minor surface cracks, we may use a concrete crack filler or epoxy injection system to seal them and prevent them from widening further. For larger cracks that go deeper into the slab, we inject epoxy or polyurethane materials that bond the concrete back together and restore structural integrity to that area.
The key point is that these repairs must be completed before grinding and surface preparation begin. Any unrepaired cracks will continue to widen beneath your new coating, eventually telegraphing through to the surface and creating an uneven, damaged appearance.
Spalling and Deteriorated Concrete Removal
Spalling is when concrete has flaked away or deteriorated, leaving pits or rough areas. This typically happens due to freeze-thaw damage, deicing salt exposure, or age. We remove all spalling concrete using mechanical methods, creating clean edges. These areas are then filled with concrete patching material that's troweled smooth and allowed to cure properly before we move to the grinding and profiling stage.
Joint Repair and Preparation
Garage floors often have expansion joints - those intentional seams that run across the floor to allow for concrete movement as temperature and humidity change. These joints require special attention. We clean them out thoroughly, remove any debris, and often fill them with a flexible joint filler that moves with the concrete while still maintaining a neat appearance. For high-performance coatings, we may recommend leaving joints slightly recessed or using specific joint systems designed to work with epoxy or polyaspartic finishes.
Mechanical Profiling: Creating the Perfect Surface Profile
Once the concrete substrate is sound and dry, we move into mechanical profiling - the process of creating the right surface profile for coating adhesion. This is not simply cleaning the floor. This is a precise, intentional process that opens up the concrete's pores and creates microscopic texture that allows the coating to grip the surface.
Grinding: The Primary Profiling Method
For most residential garage floor coating projects at Garage Design Source, we use concrete grinding. This removes any existing sealers, old coatings, dirt, and creates a consistent, open surface profile across the entire floor. Grinding equipment ranges from light edgers that we use around the perimeter to larger walk-behind machines that cover the main floor area efficiently.
The grit level matters significantly. We typically use coarser grits - ranging from 30 to 120 grit depending on the existing floor condition and the type of coating we'll be applying - to achieve adequate profiling. The concrete surface after grinding has a slightly rough, exposed appearance, almost like fine sandpaper. This is exactly what we want.
Shot Blasting: For Maximum Performance
For customers looking for the absolute best results, particularly with high-performance polyaspartic or polyurea systems, shot blasting creates an even superior surface profile. Shot blasting uses small steel shot fired at high velocity against the concrete surface, creating a much deeper, more uniform profile than grinding alone. This method is particularly effective for removing surface contaminants and creating the ideal surface for premium coatings.
Shot blasting does create more dust and requires more intensive cleanup, which is why we reserve it primarily for high-end projects or situations where the floor has significant contamination or prior coating issues. For most residential applications in the Reston area, grinding achieves excellent results at a more practical cost and timeline.
Dust Collection and Cleanup
Regardless of the method, we use dust collection systems throughout the profiling process. This isn't just about keeping your home clean - it's about safety and coating quality. Dust-free surfaces allow primers and coatings to adhere properly. We thoroughly vacuum and sometimes damp-wipe the floor after profiling to ensure all dust and debris are removed before the next step.
Primer Selection: The Critical Bridge Between Concrete and Coating
Many homeowners don't realize that the primer - the first layer applied directly to the prepared concrete - is often more important than the topcoat color. The primer creates the chemical and mechanical bond between the concrete and your final coating system. Choosing the right primer is crucial and depends on your specific concrete conditions and the coating system you've selected.
Epoxy Primers for Standard Epoxy Coatings
If you're applying an epoxy topcoat, an epoxy primer is typically the right choice. Epoxy primers wet the concrete surface extremely well, creating excellent mechanical adhesion. They also provide moisture resistance and can handle minor residual moisture better than some alternatives. At Garage Design Source, we recommend quality epoxy primers specifically formulated for garage floors, which often include additives that improve adhesion and moisture tolerance.
Polyaspartic and Polyurea-Specific Primers
High-performance polyaspartic and polyurea coatings often require specialized primers designed to work with these fast-curing systems. These primers are engineered to cure appropriately quickly while still allowing proper adhesion to the concrete. Using the wrong primer with a polyaspartic or polyurea topcoat can result in poor bonding and premature failure, even if the topcoat itself is exceptional quality.
Moisture-Barrier Primers
In Reston homes where moisture testing revealed moisture levels above the normal threshold but still acceptable for coating, a moisture-barrier primer becomes essential. These primers are specifically formulated to tolerate elevated moisture conditions and prevent moisture from interfering with the adhesion of the topcoat. They're thicker, contain special resins, and essentially create a protective layer between any residual moisture and your topcoat.
We don't recommend simply choosing the "heaviest" or "thickest" primer. Instead, we match the primer to your specific floor conditions and coating system. This is where our experience working with floors throughout Northern Virginia comes in - we know which primer and coating combinations perform best in Reston's climate and typical moisture conditions.
Adhesives and Additional Surface Preparation Products
Beyond primers, we may recommend additional products depending on your specific situation.
Concrete Bonding Adhesives
For floors with particular adhesion challenges - perhaps older concrete that has been sealed with sealers we've removed, or very hard, dense concrete - bonding adhesives can improve the mechanical grip of primers and coatings. These are applied before the primer and help ensure that everything sticks together as intended.
Sealers for Substrate Integrity
In some cases, particularly with porous concrete or where we've done extensive repairs, applying a concrete sealer before the primer enhances the overall integrity of the system. This is another layer of insurance that moisture won't interfere with your coating's performance.
Densifiers
Some concrete floors, particularly in older Reston homes, have surfaces that are slightly too porous or damaged. A concrete densifier hardens the surface layer and creates a better substrate for coating. When we encounter this during inspection and testing, densification becomes part of the prep sequence.
Understanding the Full Surface Preparation Timeline
Proper surface preparation isn't something we rush through. A typical garage floor surface preparation project in Reston takes one to two days, depending on the floor size and the extent of repairs needed.
Day One: Assessment and Initial Repairs
We begin with a thorough evaluation - moisture testing, crack assessment, and condition analysis. If cracks or spalling need repair, we address these first. Concrete patch material needs time to cure before we can grind it, which means crack and spalling repair often happens on day one with grinding and profiling on day two or later.
Day Two: Mechanical Profiling
Once the concrete substrate is sound and any repairs have cured sufficiently, we perform mechanical profiling. Depending on the size of the floor and the profiling method, this typically takes several hours. The concrete is then thoroughly cleaned and allowed to rest overnight, ensuring it's completely dry before priming.
Day Three and Beyond: Primer and Topcoat Application
With proper surface preparation complete, we apply primers and topcoats according to the manufacturer's specifications for your chosen coating system. The timeline here depends on which coating system you've selected - epoxy typically needs 24-48 hours between coats, while polyaspartic systems can sometimes be recoated within hours.
This timeline is important to understand upfront. We won't rush surface preparation to get you a faster "turnaround" because that's how coating failures happen. We take the time to do it right.
Warranty Implications: Why Proper Prep Protects Your Investment
Here's something many homeowners don't realize: coating manufacturers' warranties typically only apply if the substrate was properly prepared according to their specifications. If a floor coating fails prematurely and it's determined that surface preparation was inadequate, you may not have warranty coverage.
At Garage Design Source, we approach surface preparation as the foundation of the warranty promise we make to you. We follow industry standards and the specific recommendations of the coating manufacturers we work with. We document the surface preparation work we've done - moisture test results, profiling methods, repair work completed - so there's a complete record of how the floor was prepared for coating.
This matters because if anything ever does go wrong years down the line, you have documentation that the preparation was done properly. More importantly, by doing the prep work correctly from the start, coating failures become extremely unlikely.
Surface Preparation for Different Coating Systems
While the basic principles of surface preparation are consistent across coating types, there are some specific considerations for different systems.
Epoxy Floor Coating Preparation
Epoxy is a strong, durable coating that bonds well to properly prepared concrete. For epoxy applications, we typically use standard grinding for profiling - 80 to 120 grit - and an epoxy primer. Epoxy can handle some minor moisture and minor variations in concrete surface, so it's slightly more forgiving than premium systems. However, this doesn't mean we skip steps. We still test, still repair, still profile properly.
Polyaspartic Coating Preparation
Polyaspartic coatings are premium systems that cure very quickly and provide exceptional durability. Precisely because they cure so fast, the substrate preparation and primer choice become even more critical. The concrete must be extremely clean and properly profiled. We often use finer profiling with polyaspartic systems and always use the manufacturer's recommended primer. These coatings are worth the extra care in preparation.
Polyurea Coating Preparation
Polyurea is the highest-performance option we offer - incredibly durable, chemical resistant, and long-lasting. Polyurea demands the most meticulous surface preparation of all our options. We may recommend shot blasting for polyurea applications, and substrate conditions must be optimal. The investment in thorough preparation pays off with a coating that can handle the harshest garage floor conditions.
Common Surface Preparation Issues We See in Reston Homes
Over the years working with garages throughout Northern Virginia and Reston specifically, we've encountered certain surface preparation challenges repeatedly.
Efflorescence and Salt Deposits
Northern Virginia's winters and the occasional use of deicing salts create conditions where efflorescence - white mineral deposits on concrete surfaces - is common. These deposits must be thoroughly removed mechanically, as they prevent adhesion. We don't just brush these away; we ensure they're completely eliminated during grinding or blasting.
Old Concrete Sealers and Prior Coatings
Older Reston homes sometimes have sealed concrete or even failed previous coatings on the garage floor. These must be completely removed before new coating can be applied. This often requires more aggressive grinding or shot blasting to get back to bare concrete.
Moisture Issues from Poor Drainage
Some Reston garages have moisture problems rooted in poor grading or drainage around the foundation. While surface preparation can manage minor moisture, significant moisture problems may need to be addressed with exterior drainage improvements first. We won't apply a premium coating over a fundamentally moisture-compromised slab.
Concrete Cracks from Settlement or Poor Original Construction
Older concrete can have cracks from minor settlement or original construction issues. Identifying whether these cracks are stable or active is part of our assessment. We repair and monitor them appropriately before proceeding with coating.
Real-World Examples: Surface Preparation Success Stories
We've completed numerous garage floor coating projects in Reston where meticulous surface preparation made all the difference.
One homeowner in Reston had a garage floor with significant moisture issues - they'd actually had a previous coating fail, which is what made them call us. Through moisture testing and assessment, we identified that the concrete moisture levels were above normal but manageable with the right approach. We used a moisture-barrier primer with an epoxy topcoat and took particular care with profiling and cleaning. The floor has performed beautifully for years, with no moisture-related issues.
Another Reston customer had an older concrete floor with visible efflorescence and some spalling from freeze-thaw cycles. This required more extensive prep work - we removed all the efflorescence, repaired the spalling areas, then used shot blasting for superior profiling. The resulting polyaspartic finish looks flawless and handles the homeowner's heavy use with zero problems.
These successes aren't accidents. They result from refusing to cut corners on surface preparation, even when homeowners are eager to see the final coating color applied.
The Connection Between Prep Work and Long-Term Performance
Here's the bottom line: the most beautiful garage floor coating in the world won't last if it's applied over inadequately prepared concrete. Conversely, even a "standard" coating system applied over properly prepared concrete will outperform a premium coating applied over a rushed substrate.
At Garage Design Source, we've built our reputation on garage transformations that last. We understand that homeowners are investing in their space and expecting results that look great and perform reliably for years. That expectation is only met through surface preparation that we take as seriously as the final topcoat.
When you choose us for your garage floor coating project in Reston, you're choosing a team that understands that the unglamorous prep work is what separates a temporary coating from a lasting transformation. We test, repair, profile, and prime with the same attention to detail that we apply to every other aspect of your project.
Your garage floor's beauty and durability start long before the color goes down. They start with moisture testing, substrate repair, proper mechanical profiling, and the right primer system. That's how we deliver garage floor coatings in Reston that truly transform your space.