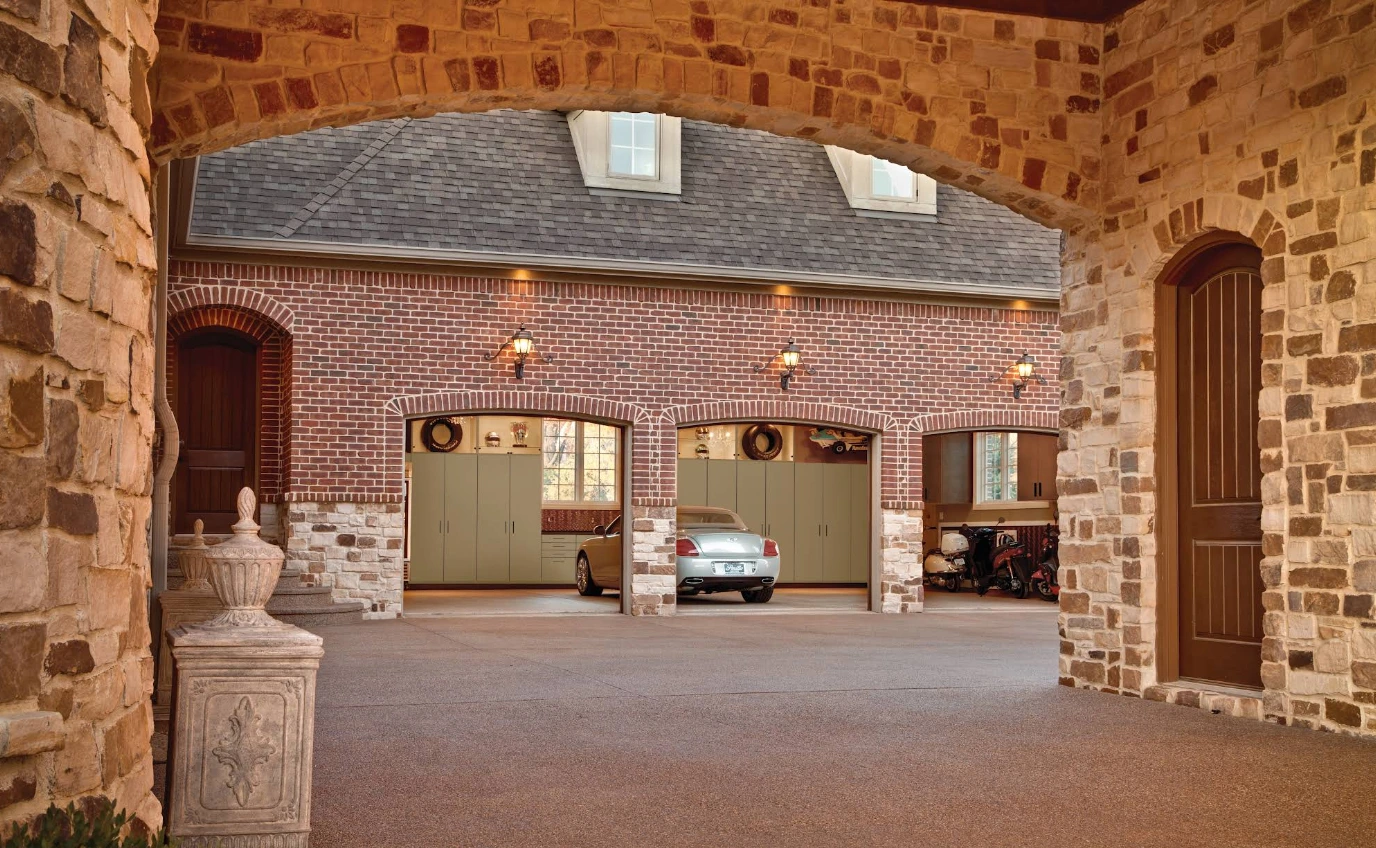
When homeowners in Vienna, VA plan to transform their garage with a premium epoxy, polyaspartic, or polyurea floor coating, they often focus on the visual finish - the sleek, durable surface that will define their space for years to come. What many don't realize is that the true foundation of a long-lasting garage floor coating lies in what happens before the color ever touches the concrete. Moisture mitigation and surface preparation are the critical steps that determine whether your new floor coating will look stunning and perform beautifully, or develop problems that undermine your investment.
Moisture Mitigation and Surface Prep in Vienna, VA
When homeowners in Vienna, VA plan to transform their garage with a premium epoxy, polyaspartic, or polyurea floor coating, they often focus on the visual finish - the sleek, durable surface that will define their space for years to come. What many don't realize is that the true foundation of a long-lasting garage floor coating lies in what happens before the color ever touches the concrete. Moisture mitigation and surface preparation are the critical steps that determine whether your new floor coating will look stunning and perform beautifully, or develop problems that undermine your investment.
At Garage Design Source, we've spent years perfecting the science and craft of garage floor preparation. We know that skipping or rushing these preparatory steps is one of the most common reasons premium coatings fail prematurely. That's why we treat moisture mitigation and surface prep as essential components of every garage floor project in Vienna, not as optional add-ons. Understanding why these steps matter - and how they're executed properly - helps you appreciate the quality and durability you're investing in.
Why Moisture Mitigation Matters for Your Vienna Garage Floor
Vienna's climate, with its moderate winters and humid summers, creates an environment where concrete moisture can become a significant issue. Concrete is porous by nature, and it naturally absorbs water from the ground and from the air. In many homes across Northern Virginia, moisture infiltration happens silently and invisibly - homeowners don't see puddles or obvious wetness, yet moisture is steadily moving through the concrete slab.
Moisture trapped beneath a garage floor coating creates serious problems. When moisture pressure builds underneath epoxy, polyaspartic, or polyurea coatings, it can cause the coating to blister, peel, or delaminate. You might notice bubbling appearing weeks or months after installation, or edges lifting away from the concrete. In worst cases, moisture problems lead to coating failure that leaves you with costly removal and re-application work. This is why moisture testing and mitigation aren't just recommended - they're essential for protecting your investment.
The concrete beneath your garage floor may seem stable and dry to the touch, but surface-level dryness doesn't reflect what's happening deeper in the slab. Moisture can migrate upward from the soil beneath your garage, especially in areas like Vienna where groundwater levels and seasonal water tables fluctuate. Even a slab that appears dry on the surface can have moisture levels too high for proper coating adhesion.
Moisture Testing: Understanding Your Concrete's Condition
Before Garage Design Source applies any coating system, we conduct thorough moisture testing to establish a baseline for your concrete's actual moisture content. This step is non-negotiable for any professional garage floor coating project in Vienna, VA.
We use two primary moisture testing methods:
Calcium Chloride Testing - This method measures the moisture vapor emission rate (MVER) from the concrete surface. We place specialized test kits on the concrete and allow them to equilibrate over a 24-72 hour period. This test reveals how much moisture is actively moving up through the slab. Most quality epoxy and polyaspartic coatings require calcium chloride test results below specific thresholds - typically 3 to 5 pounds per 1000 square feet per 24 hours, depending on the coating system.
Relative Humidity Testing - This in-situ method measures humidity levels within the concrete itself using probes inserted into the slab. It provides a direct reading of the moisture environment deep within the concrete matrix. This test is particularly valuable for determining whether moisture is a temporary issue (like after recent rain or seasonal changes) or a chronic condition that requires intervention.
Once we have moisture test results, we know exactly what approach your concrete needs. Some slabs are naturally dry and ready to coat after standard surface prep. Others require additional moisture mitigation strategies - which we'll explain below - before we can confidently apply your chosen coating system.
Moisture Mitigation Strategies for Vienna Area Homes
When moisture testing reveals elevated moisture levels, we don't simply coat over the problem. Instead, Garage Design Source applies proven moisture mitigation techniques designed for the Northern Virginia climate.
Moisture Vapor Barriers and Epoxy Primer Systems - For slabs with moderate moisture challenges, we apply specialized epoxy primer systems that include moisture vapor barrier properties. These primers are engineered to bridge moisture while still allowing some vapor transmission, preventing the pressure buildup that causes coating failure. This is often the most practical solution for Vienna garages with manageable moisture conditions.
Moisture-Resistant Primers - Certain polyaspartic and polyurea systems come paired with moisture-tolerant primers specifically formulated to accept higher moisture levels than traditional epoxy primers. These primers create a reliable bond even on slightly damp concrete, making them ideal for basements, ground-level garages, or slabs in areas prone to seasonal moisture.
Concrete Moisture Sealers - For slabs with persistent moisture issues, we may recommend applying a penetrating moisture sealer several weeks before coating application. These sealers work by blocking moisture pathways through the concrete from below, reducing vapor transmission to levels compatible with your chosen coating.
Perimeter Moisture Management - In some Vienna homes, moisture problems originate from water accumulation around the garage's perimeter. We assess your garage's grading, downspout placement, and drainage patterns. Recommending simple improvements - like regrading soil away from the foundation or extending downspouts - can dramatically reduce moisture infiltration at the source.
The key insight is this: moisture mitigation is customized, not standardized. Not every garage in Vienna needs intensive mitigation. Our moisture testing determines exactly what your slab requires, ensuring we don't over-engineer the solution or under-estimate moisture risk.
Substrate Repair: Creating a Sound Foundation
Once moisture testing is complete and any moisture mitigation is applied, we assess the concrete itself for structural issues. The concrete substrate must be sound, stable, and properly prepared - these are non-negotiable requirements for coating adhesion and longevity.
Crack Repair - Concrete cracks are common in Vienna area garages, developing from concrete shrinkage, settling, or thermal expansion and contraction. Not all cracks are equal. We categorize them by width, depth, and activity level:
- Hairline Cracks (less than 1/8 inch wide) - These are typically stable and don't require repair before coating. The coating itself will bridge minor hairline cracks. However, we'll monitor these cracks and document their condition.
- Small Cracks (1/8 to 1/4 inch wide) - These require repair before coating. We use self-leveling epoxy crack fillers that cure to the same hardness as the surrounding concrete, creating a unified surface. The filler bonds to both crack walls, preventing moisture from infiltrating through the crack.
- Larger or Active Cracks (greater than 1/4 inch, or cracks that show signs of movement) - These demand more substantial repair. We may use polyurea concrete sealers, two-part epoxy injections, or even mechanical routing and filling with flexible polyurethane sealants, depending on crack characteristics and movement patterns. Our goal is a repair that accommodates concrete's natural movement while preventing moisture infiltration.
Joint Repair and Sealant - Garage floor joints - the seams where concrete sections meet, or where the floor meets the walls - are moisture entry points and stress concentrators. Before coating, we clean joints thoroughly and, if necessary, widen them slightly to accommodate sealant. We then apply polyurethane or epoxy joint sealants that remain somewhat flexible, allowing the concrete to expand and contract seasonally without the sealant cracking.
Spalling and Damage Repair - Spalled areas (where concrete has flaked or deteriorated), small pits, or damaged sections must be repaired before coating. We use self-leveling epoxy patching compounds or concrete repair mortars to restore these areas to a level, sound condition. Proper repair ensures a uniform coating appearance and prevents these weak points from becoming problem areas later.
Delamination Assessment - In some cases, layers of concrete have separated from the base slab. We identify delaminated areas by sounding the concrete (tapping to listen for hollow spots) and sometimes using ultrasonic testing. Severely delaminated concrete must be removed and replaced before coating, as coating cannot repair structural separation.
The repair process takes time, but it's time invested in preventing future problems. A properly repaired concrete substrate ensures your coating system has a stable, sound foundation to bond to.
Mechanical Profiling: Preparing the Surface for Adhesion
After structural repairs are complete and any moisture mitigation has been applied, we mechanically profile the concrete surface. This step is absolutely critical - it prepares the concrete's texture so that primer and coating can bond effectively.
Concrete surfaces, especially older slabs, often have a dense, smooth, or contaminated outer layer. Sealers, waxes, curing compounds, or years of dirt and oxidation create a barrier that prevents coating adhesion. Our mechanical profiling removes this barrier and creates a slightly rough, porous surface texture that allows epoxy, polyaspartic, or polyurea coatings to grip securely.
Grinding - For most Vienna garage floors, grinding is our primary profiling method. We use industrial-grade concrete grinders with diamond or carbide abrasive heads to systematically remove the top layer of concrete. The process creates a uniform, slightly rough surface texture - similar to fine sandpaper. Grinding also removes any thin concrete flakes, dust, or loose material, leaving clean, exposed concrete.
The depth of grinding depends on the concrete's condition and the coating system we're applying. Epoxy systems typically require a moderate profile (roughly 120-150 grit equivalent). Polyaspartic and polyurea coatings, which bond differently, may require slightly different profile depths. We adjust our approach based on the concrete's condition and your chosen coating.
Shot Blasting - For heavily contaminated concrete, extremely hard concrete, or when a more aggressive profile is needed, we use shot blasting. This method propels small steel shot at high velocity against the concrete surface, simultaneously removing contaminants and creating a deeper, more uniform profile. Shot blasting is particularly effective for industrial garages or slabs with heavy staining or chemical residue.
Concrete Bonder Products - In some cases, especially for slabs that have been sealed or treated previously, we apply concrete bonding agents after profiling. These products chemically enhance adhesion by creating a micro-mechanical link between the concrete and the primer. This extra step is insurance against adhesion failure on problematic substrates.
Dust Control and Containment - Throughout the grinding or blasting process, we manage dust carefully. Concrete dust is a byproduct, and thorough cleanup is essential. Any residual dust between the concrete and primer prevents adhesion, so we use HEPA-filtered dust collection systems and follow up with careful vacuuming and, if needed, wet cleaning before primer application.
After mechanical profiling, the concrete is ready - it's clean, properly textured, and prepared for the primer and coating layers that follow.
Primer and Moisture Barrier Options
With the concrete properly prepared, we select and apply the appropriate primer system for your specific conditions and chosen coating type.
Epoxy Primers - Traditional epoxy primers are workhorses for garage floors. They provide excellent adhesion to mechanically profiled concrete, superior chemical resistance, and moisture barrier properties. For Vienna garages with moderate moisture levels, a quality epoxy primer paired with our moisture mitigation strategy creates a reliable, durable base for topcoat epoxy applications. Epoxy primers cure through a chemical reaction and provide a hard, protective surface within 24-48 hours.
Moisture-Tolerant Primers - Some primer formulations are specifically engineered to accept higher moisture levels than standard epoxy. These primers work well on slabs where moisture levels are elevated but not extreme, or where moisture testing reveals ongoing vapor transmission. They provide the adhesion benefits of epoxy with greater flexibility in moisture conditions.
Polyurea Primers - For polyurea coating systems, we use polyurea-based primers that cure rapidly and bond exceptionally well to polyurea topcoats. These primers handle moisture effectively and provide a secure foundation for the fast-curing polyurea systems that follow.
Self-Priming Coating Systems - Some premium coating systems function as both primer and topcoat, eliminating a separate primer step. These are typically polyaspartic or polyurea-based and offer convenience alongside excellent adhesion. We recommend these when conditions are well-controlled and the concrete is in good condition.
The primer we select is never arbitrary. It's matched to your concrete's specific condition, the moisture mitigation strategy we've implemented, and the topcoat system you've chosen. This coordinated approach ensures all layers work together as an integrated system.
Adhesives and Bonding Strategies
Beyond primers, adhesion success depends on understanding how each coating system bonds to concrete and previous layers.
Epoxy to Epoxy - Epoxy primers bond directly to epoxy topcoats through both mechanical and chemical adhesion. As long as the epoxy primer has fully cured and the surface is clean, epoxy topcoats adhere strongly. If we're applying epoxy over an existing epoxy primer, we ensure the primer surface is still tacky or minimally cured - not fully hardened - for optimal chemical bonding. In some cases, we may lightly abrade the primer surface to enhance mechanical grip.
Epoxy to Polyaspartic - Polyaspartic topcoats bond effectively to epoxy primers, though the interface behaves differently than epoxy-to-epoxy. The polyaspartic system polymerizes rapidly, trapping the epoxy primer beneath it. We ensure the epoxy primer has fully cured before applying polyaspartic, creating a firm, stable substrate for the fast-curing polyaspartic layer.
Polyurea Applications - Polyurea coatings require pristine, clean substrates. They cure so rapidly (often within minutes) that any dust, moisture, or uncured primer interferes with bonding. Before polyurea application, we verify the primer has fully cured and conduct a final cleaning pass, sometimes using a tack cloth to remove microscopic dust.
Adhesion Testing - For critical applications or when substrate conditions are questionable, we perform adhesion testing using pull-off tests on small areas. This confirms that coating layers are bonding properly before we proceed with full application.
The adhesion strategy is built into our entire preparation process - from moisture mitigation through primer selection through topcoat application. Every step supports the next.
Comparing Epoxy, Polyaspartic, and Polyurea Systems
While moisture mitigation and surface prep are universal requirements, the specific primer and coating system you choose for your Vienna garage has different characteristics worth understanding.
Epoxy Systems - Epoxy coatings are two-part systems that cure through a chemical reaction. They offer excellent adhesion, chemical resistance, and durability at a moderate price point. Epoxy is ideal for homeowners who want a proven, reliable system and have some flexibility on cure time. Epoxy typically requires 24-48 hours before light use and 5-7 days before heavy traffic, but it develops excellent hardness over time. Epoxy primers work well with epoxy topcoats, creating a highly durable system.
Polyaspartic Systems - Polyaspartic is a newer technology that offers faster cure times than epoxy while maintaining excellent durability. Polyaspartic systems can often be ready for light use within 12-24 hours and full cure in 2-3 days. They provide superior UV resistance compared to epoxy, resisting yellowing in garages with windows or bright exposure. Polyaspartic is more expensive than epoxy but justified by faster project completion and enhanced durability. Moisture-tolerant primers are sometimes recommended with polyaspartic, as these systems can accept slightly higher moisture levels.
Polyurea Systems - Polyurea is the premium option, offering rapid cure times measured in hours and exceptional durability and flexibility. Polyurea topcoats can often be used within hours of application. However, polyurea requires very strict surface conditions - the concrete must be dry, primed with compatible materials, and free from any dust or contamination. Polyurea is best for homeowners who want premium durability, rapid project completion, and don't mind the higher cost.
Each system has moisture mitigation and surface preparation requirements. The specific approach we take - our primer selection, our moisture testing thresholds, our profiling technique - is customized to the system you've chosen.
Timeline Expectations for Vienna Area Projects
Understanding the project timeline helps you plan for garage access and daily activities during the preparation and coating process.
Moisture Testing - Initial moisture testing requires 24-72 hours, depending on the method. We typically schedule testing early and allow the full window for accurate results. Once testing is complete, we have results within 24 hours.
Moisture Mitigation (if needed) - If your slab requires moisture mitigation beyond standard primer selection, this adds 1-2 weeks to the overall timeline. Moisture sealing penetrants require curing time. Perimeter grading or drainage improvements must be completed in advance of coating.
Structural Repairs - The time needed for crack repair, joint sealing, and damage repair depends on the extent of damage. Minor repairs may take 1-2 days. Extensive repairs, especially if concrete removal and replacement is needed, can extend the timeline by 1-2 weeks or more. Repairs must fully cure before surface profiling begins.
Surface Profiling - Mechanical grinding or shot blasting typically takes 1-2 days for a standard two-car garage, depending on the concrete's condition and the extent of profiling needed. Following profiling, thorough cleaning and dust removal requires an additional day.
Primer Application - Once the substrate is prepared, primer application is relatively quick - often completed in 1 day. However, primer must cure before topcoat application. Epoxy primers typically require 24-48 hours. This curing time cannot be rushed.
Topcoat Application - Applying your chosen coating system (epoxy, polyaspartic, or polyurea) typically takes 1-2 days, depending on the product and the garage's size.
Cure Time Before Use - This is where coating choice matters significantly. Epoxy systems require 5-7 days before normal foot traffic and 7-14 days before vehicle traffic. Polyaspartic systems are typically ready for light use in 24-48 hours and vehicle traffic in 3-5 days. Polyurea systems can often be used within hours to a day.
Total Project Duration - From initial consultation to full cure, a typical Vienna garage floor project takes 2-4 weeks. This includes moisture testing, any necessary repairs, surface preparation, primer, and topcoat application, plus cure time. Projects with extensive moisture mitigation or structural repairs may take longer.
We provide a detailed timeline during your initial consultation, accounting for your specific garage's condition and your chosen coating system.
Warranty Implications and Long-Term Protection
Proper moisture mitigation and surface preparation directly affect the warranty coverage on your garage floor coating.
Most quality coating manufacturers warrant their products against peeling, cracking, and delamination for periods ranging from 5 to 10 years. However, these warranties have conditions. They typically require that:
- Moisture testing was completed and results documented
- Moisture levels were within specified ranges
- Appropriate moisture mitigation was implemented if needed
- Surface preparation met specific standards
- The slab was structurally sound and properly repaired
- The primer and coating system were applied per manufacturer specifications
When Garage Design Source completes a project, we document every step - moisture test results, repairs made, profiling method, primer and coating batch numbers, application dates, and cure times. This documentation protects you. If any issues arise, we have detailed records proving the work was completed to manufacturer specifications.
Skipping or rushing moisture mitigation or surface prep, conversely, often voids manufacturer warranties. A coating that fails due to poor prep work won't be covered, leaving you responsible for removal and reapplication costs.
Additionally, proper preparation extends the practical lifespan of your coating far beyond the warranty period. A well-prepared floor coating can look and perform beautifully for 10-15 years or longer, while a poorly prepared coating might fail in 2-3 years. The cost difference between proper prep and rushed work is small compared to the long-term durability benefit.
Real-World Outcomes from Vienna Area Projects
Over years of serving homeowners in Vienna, VA and the surrounding Northern Virginia communities, Garage Design Source has seen firsthand how moisture mitigation and proper surface preparation determine project success.
One recent Vienna home had an older garage slab with visible cracks and a moisture issue the homeowners had noticed - occasional dampness on very humid days. Moisture testing revealed elevated moisture vapor levels. We completed crack repairs, applied a moisture barrier primer, and profiled the concrete carefully. The homeowners chose a polyaspartic system for durability. Eighteen months later, the floor remains pristine - no peeling, cracking, or moisture issues - and the homeowners report complete satisfaction with the durability and appearance.
Another project involved a Vienna garage where a previous contractor had rushed surface preparation. The existing coating was beginning to peel within 2 years. We completely removed the failed coating, assessed and properly repaired the underlying concrete, conducted moisture testing, and implemented appropriate moisture mitigation. The new epoxy system we applied has now performed flawlessly for years.
We've also worked on Vienna garages where perimeter moisture infiltration was the real issue. Simply improving the grading around the garage and extending downspouts reduced moisture levels enough that standard epoxy coating performed excellently without intensive moisture barriers.
These real-world projects illustrate a consistent theme: homes that receive thorough, professional moisture mitigation and surface preparation enjoy excellent coating performance and durability. Homes where these steps were skipped or rushed invariably experience problems.
Moisture Mitigation and Surface Prep: The Foundation of Lasting Beauty
Your garage is one of the most visible spaces in your home - a place where family members spend time, where vehicles are parked, and where guests see the quality of your home. A properly prepared and protected floor coating enhances this space dramatically, providing a durable, beautiful surface that reflects well on your home for years.
Moisture mitigation and surface preparation are the unglamorous foundation work that makes this transformation possible. They're the steps homeowners often don't see and don't think about - until a coating fails and they wish proper preparation had been completed.
At Garage Design Source, we're committed to doing this foundational work right, every time. We test moisture thoroughly, repair structural issues completely, profile the surface properly, and select the right primer and moisture barriers for your specific conditions. We document everything, and we stand behind our work with confidence in durability and longevity.
When you're planning a garage floor coating in Vienna, VA, or anywhere in Northern Virginia, the most important question isn't about color or design - it's about whether the contractor takes moisture mitigation and surface preparation seriously. These steps determine whether your new garage floor will be a source of pride and durability or a disappointing investment.